Garden Projects: This part of my portfolio showcases small to medium scale projects of various purpose; native plant replacement, garden bed construction, things of that nature. Each project has a before-and-after image slider, text to contextualize procedure, purpose, cost, and so forth!
Yellow Star-thistle Suppression
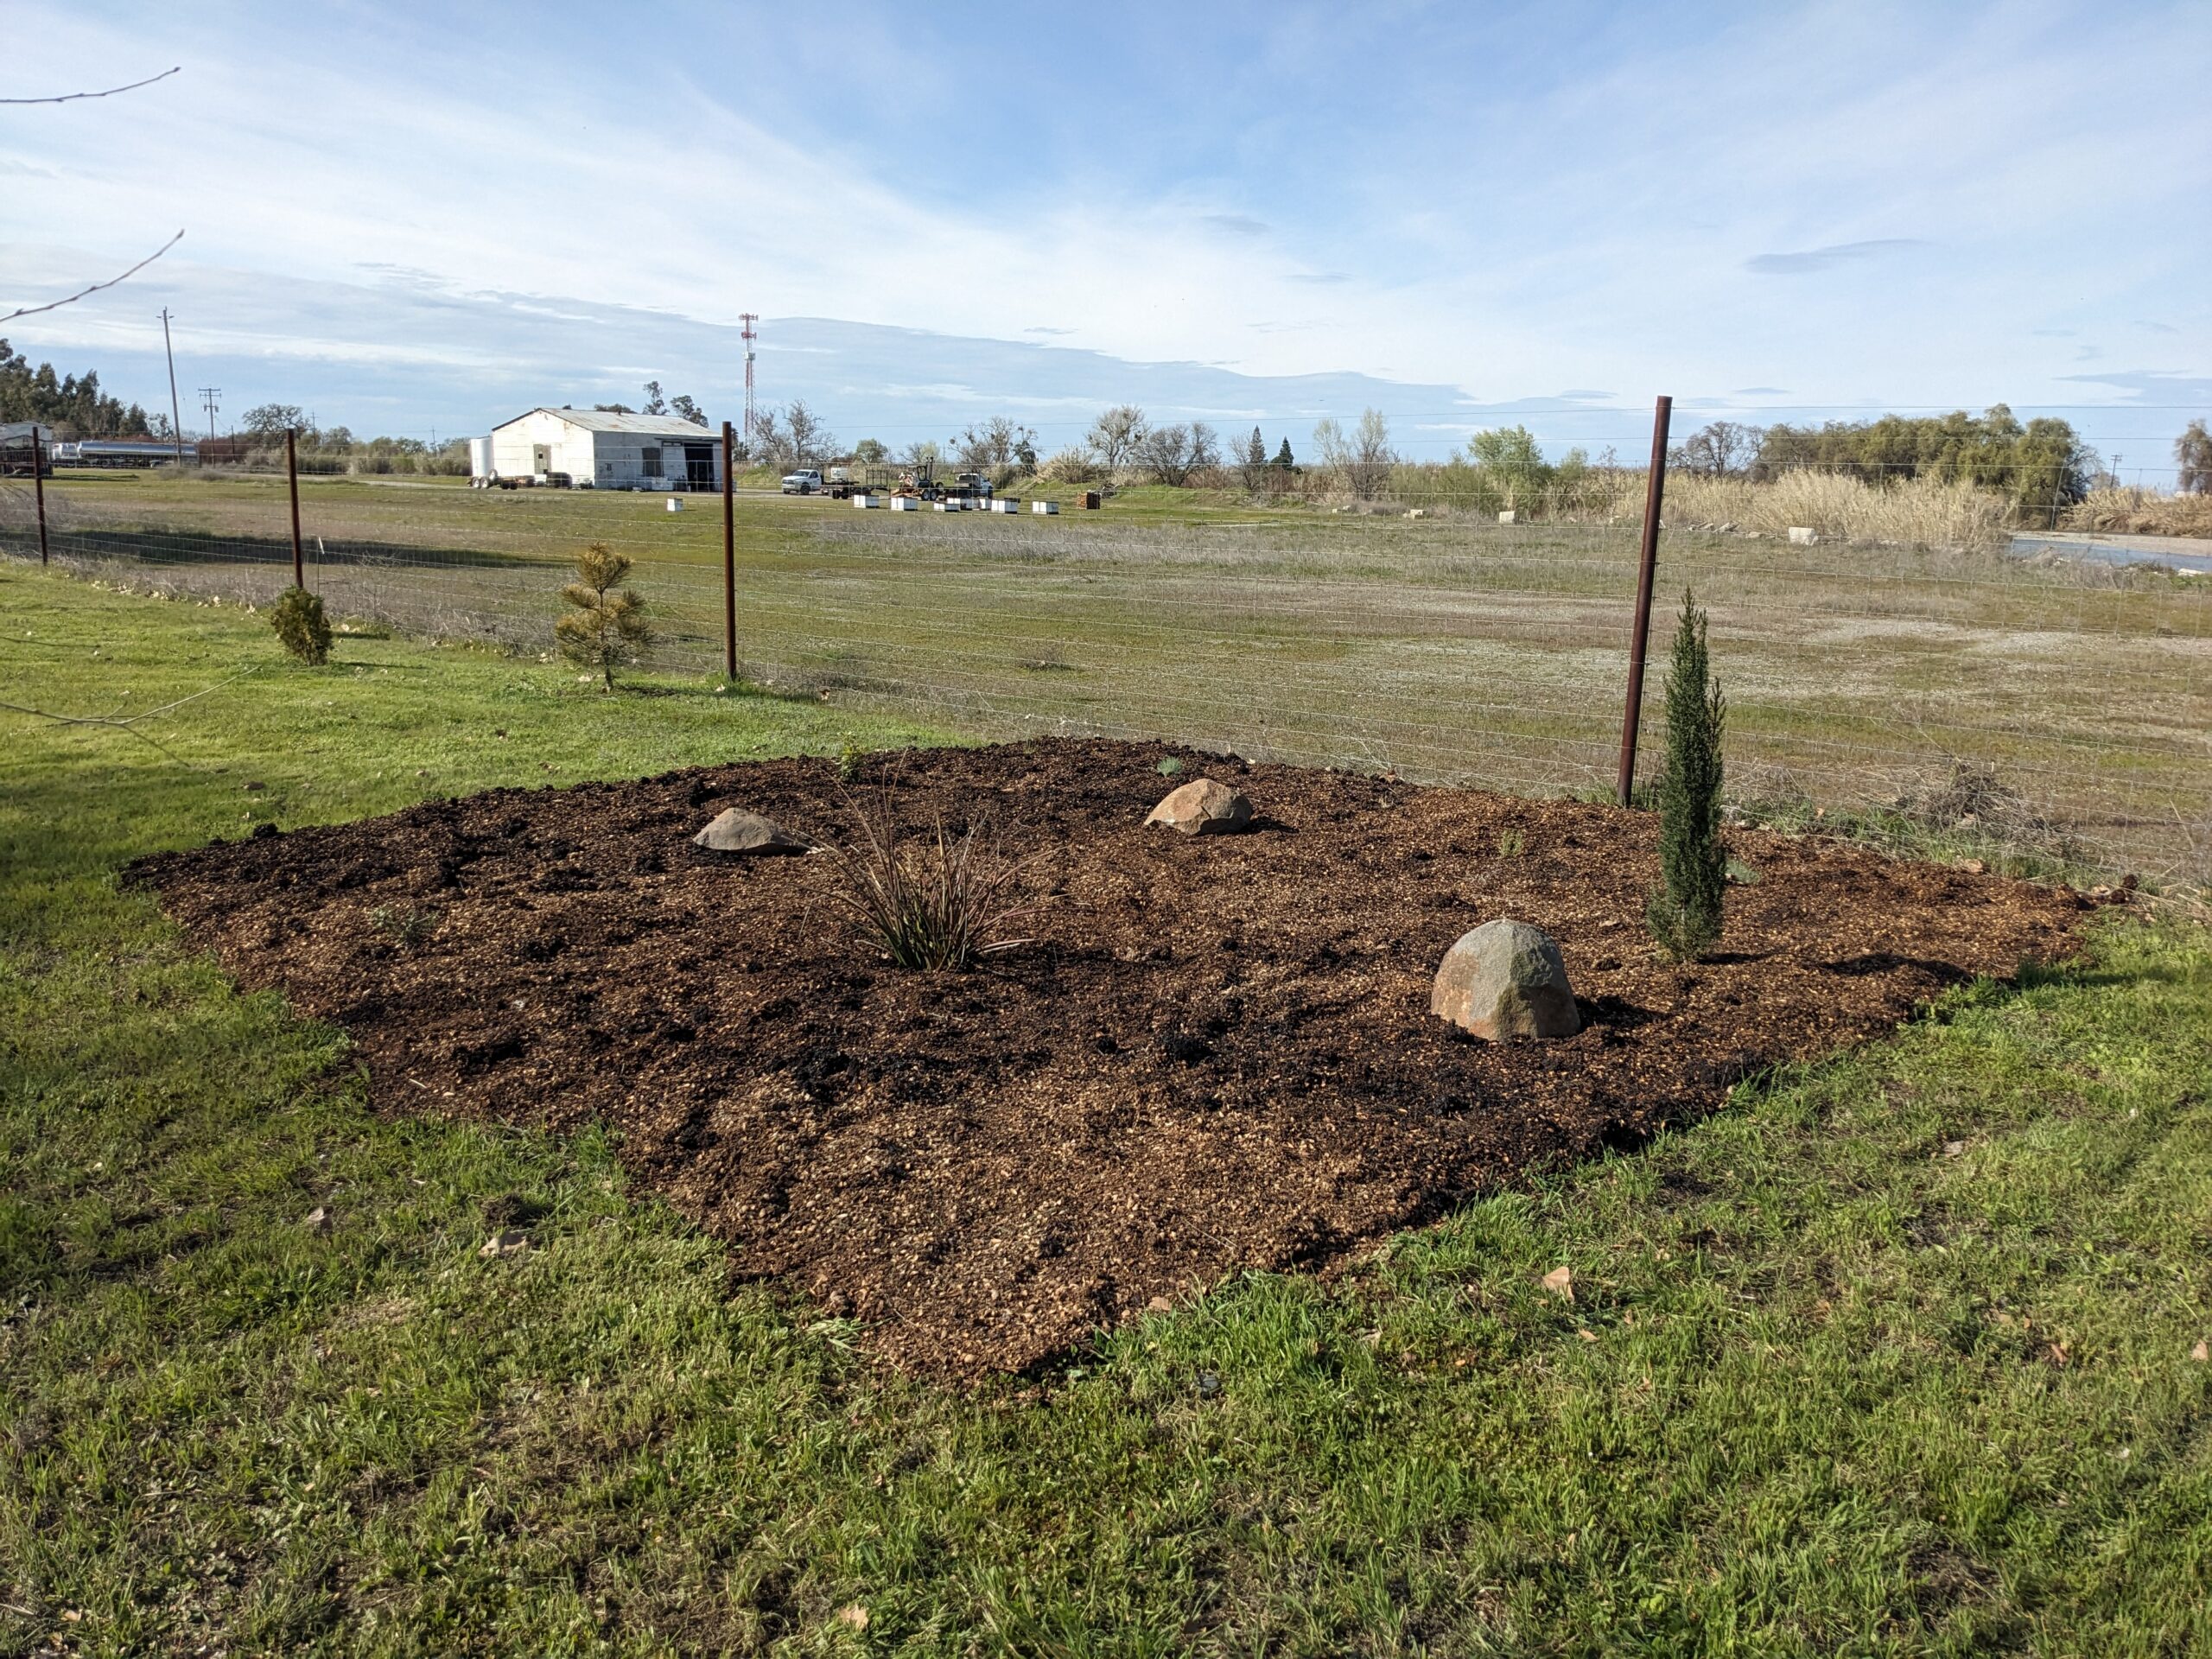
This project was actually done for one of my horticulture classes. The basic idea was to control for an invasive species and to replace it with native plants. I approached one of my master gardener clients and gave her the basic gist of the project, and it quickly became apparent we had an opportunity to tackle some of the yellow star-thistle (Centaurea solstitialis) on the outer perimeter of the property, which was an area under not much control (I would mow this meadow every now and then). As can be seen in the before photo, the star thistle had already played a part in outcompeting some young evergreens, and is a very aggressive annual. So, I gathered some natives from a local native plant nursery, and formed a grass windscreen against the fence (where I suspect the star thistle came from; it’s a truck depot), planted a native shrub and some coyote brush, and left my trademark layer of cardboard in the 400 square foot plot with a layer of almond shell on top. I like to call this a “quick and clean” native garden; it is resilient (nothing has popped up in subsequent months), the natives are enjoying uncompetitive growth, and as they grow into their larger selves the local wildlife will enjoy their natural shelter. The after photo may seem a *little* underwhelming, but that’s only because I bought the smallest (and therefore, cheapest) forms of the natives, as a cost-saving measure; I wanted to install the garden at the lowest price point possible. Part of the enjoyment from gardening is watching something grow, anyway!

The first image below is an invoice for the above project, to give additional context on the above claim that it was a “quick and clean” garden project. Granted, many of the materials used were free in some manner, but that’s a beautiful thing about garden and landscape; there’s lots of opportunity to be resourceful! The second image is a draft of the plot. I did four years of AutoCAD and drafting in high school, it only took half my life to make use of those skills!


Native Plant Balcony Garden
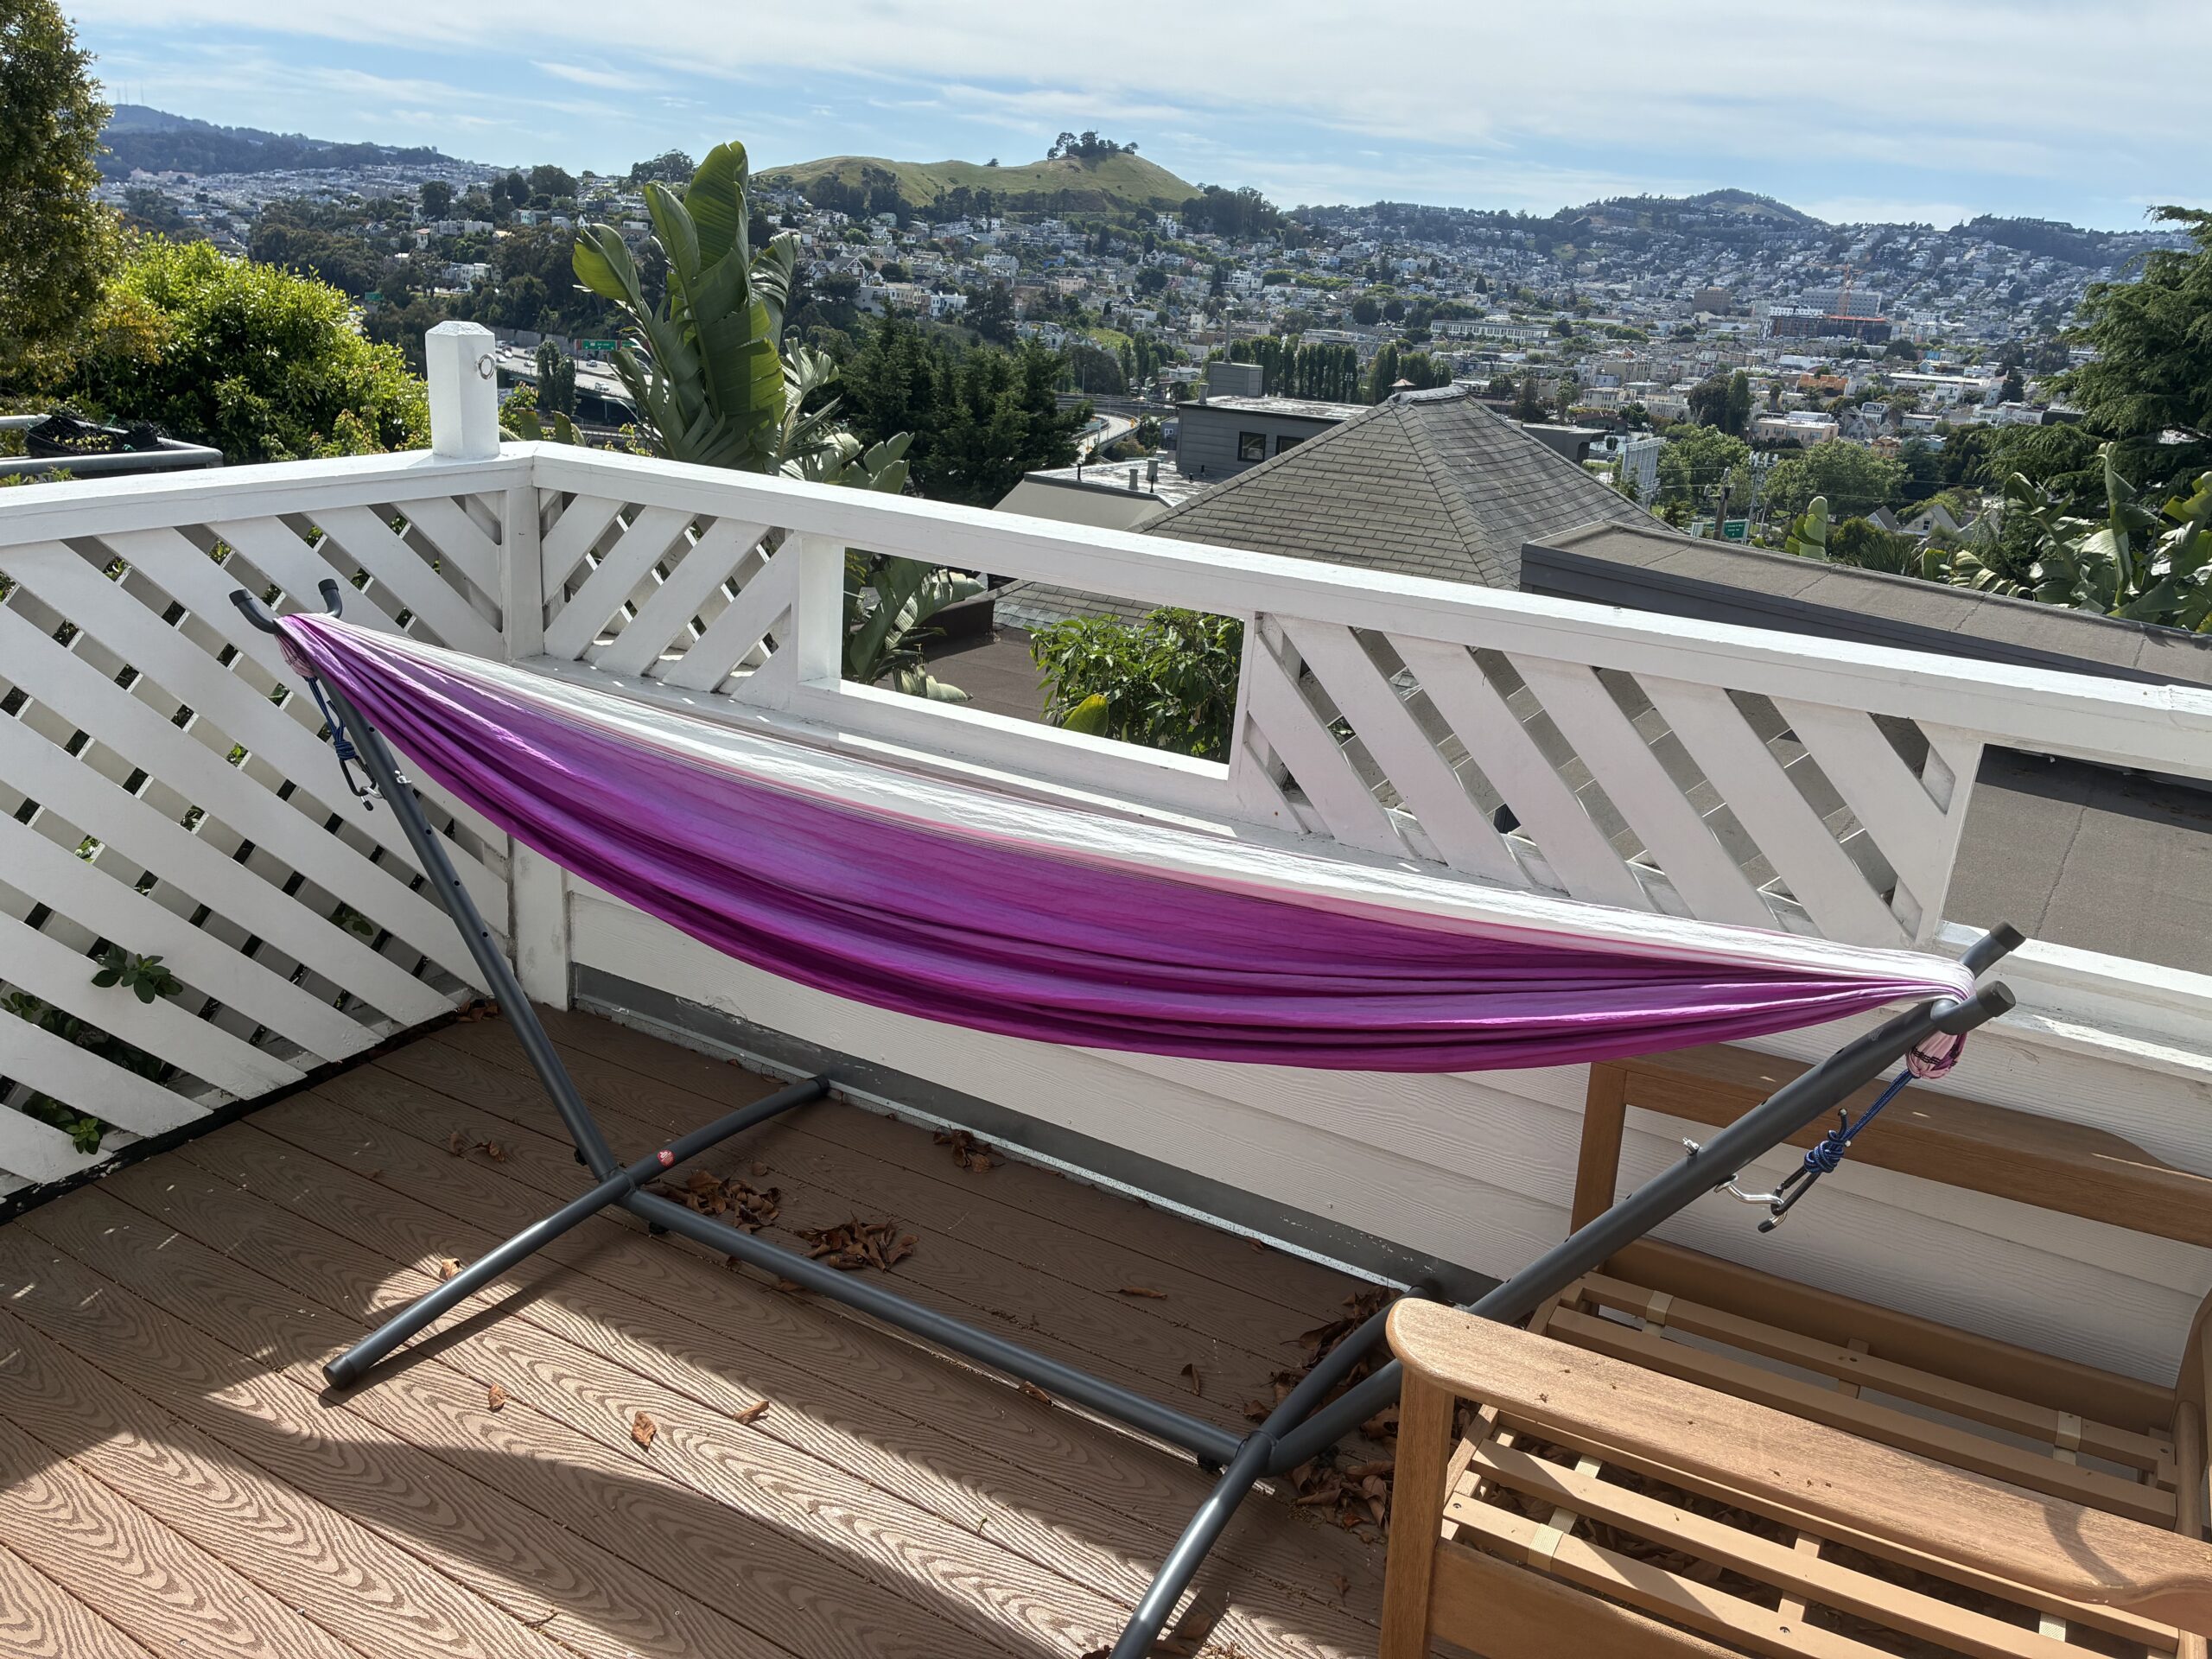
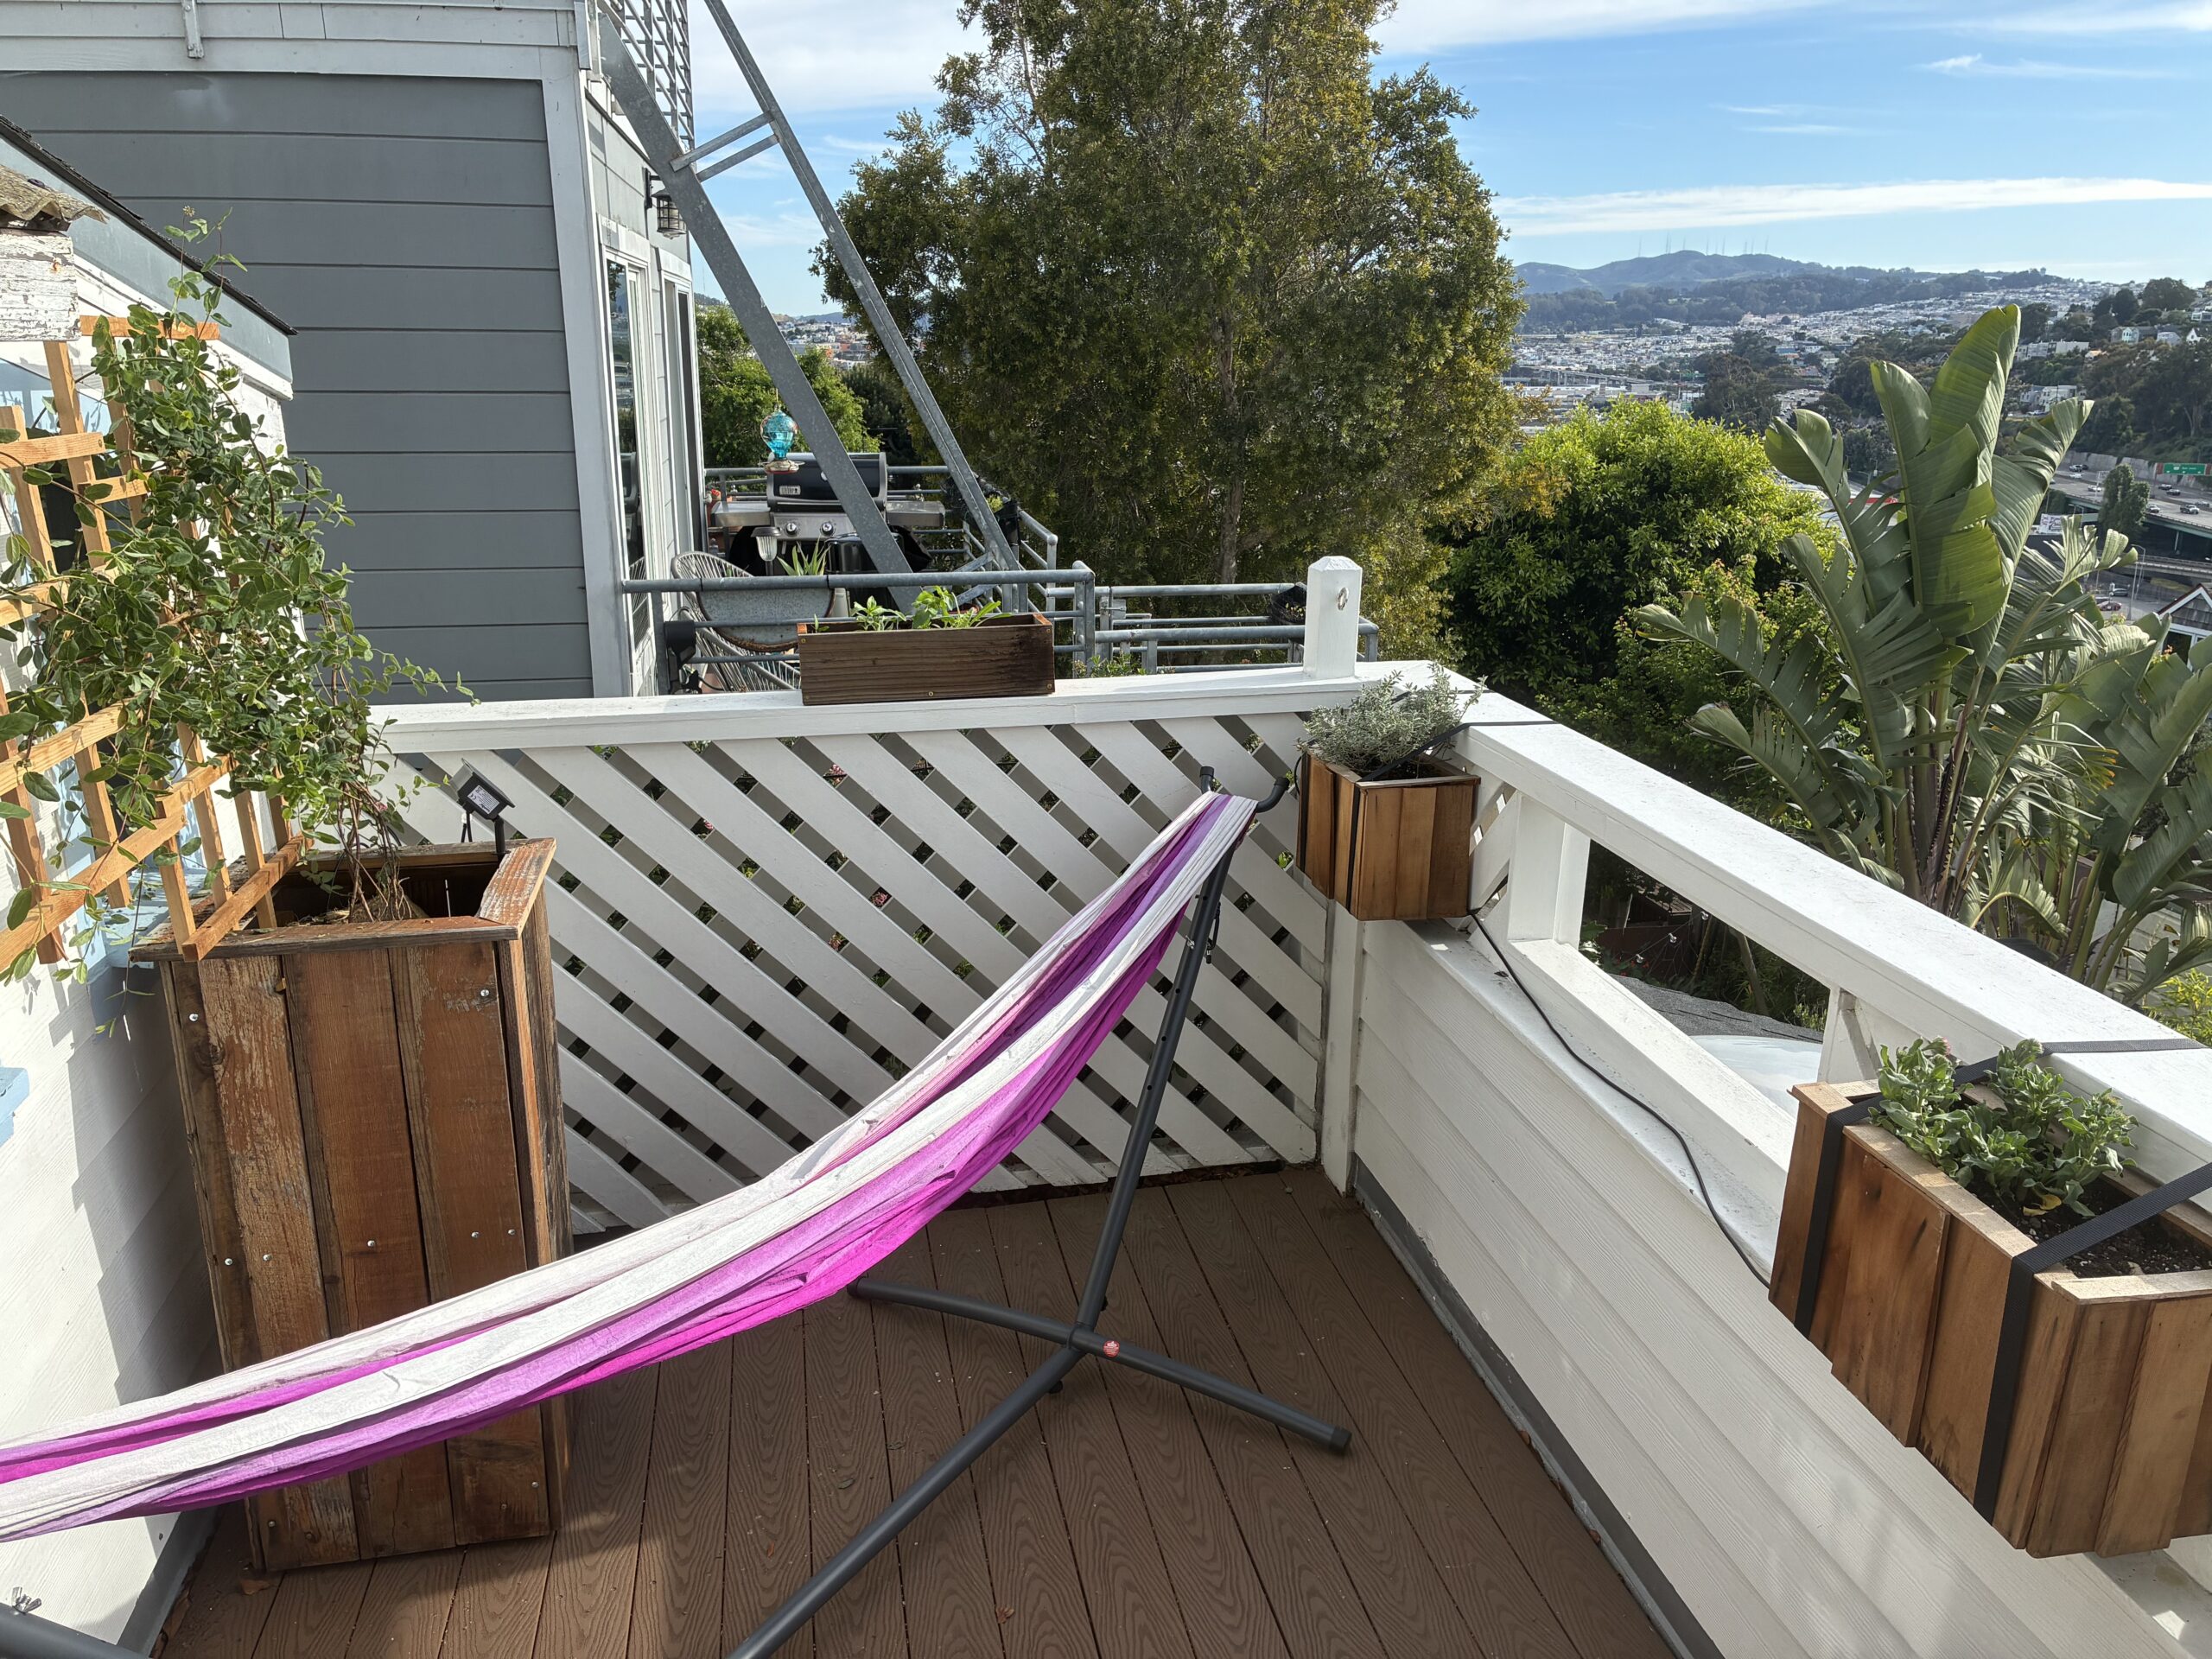
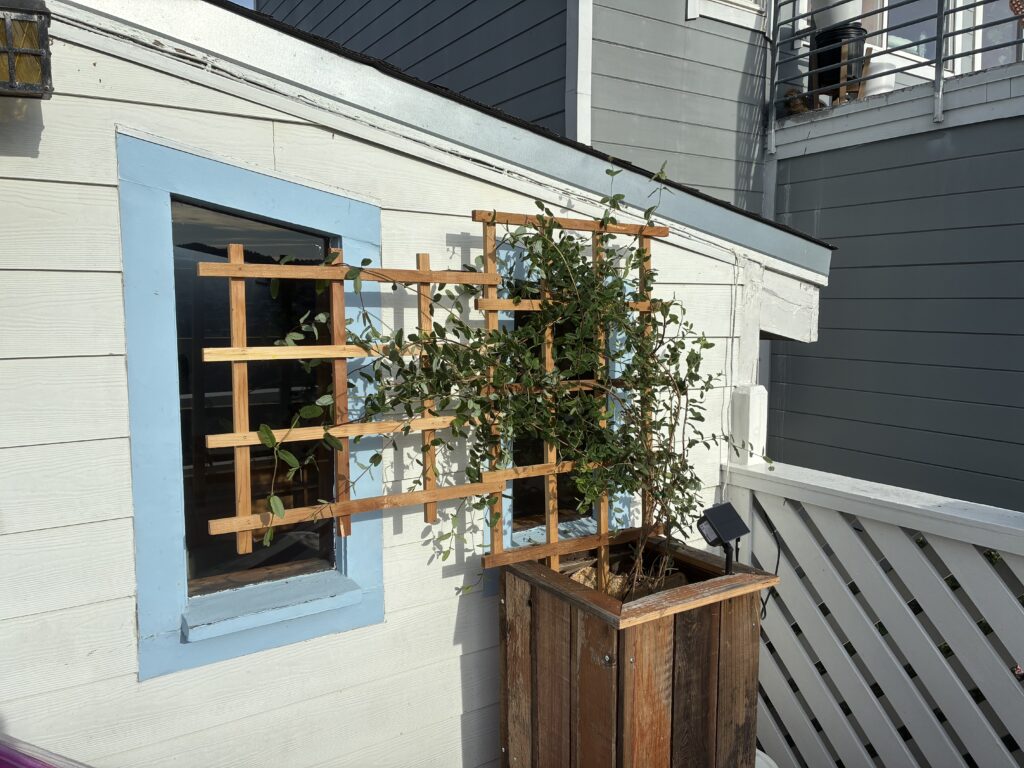
A friend of mine landed a place in Potrero hill with a rad south-facing balcony, so I felt compelled to put together a little CA native plant garden for him. It presented some interesting challenges; how to ensure container plants (even drought-tolerant varieties) can make it through the summer with minimal human intervention, and how to shade his bedroom windows from taking in so much sunlight. I combed through my plant database, and we decided on sun rose, beach aster, and California honeysuckle. I built some custom planter boxes out of leftover cedar shingles or reclaimed redwood fence boards and used some lashing straps as a viable non-permanent way to situate two of the boxes so they reside in a somewhat shaded location just below the railing in order to lower soil water evaporation, but the vegetation can still bask in the full sun. I modified a trellis so the California honeysuckle can grow and cover both windows. Finally, I found a reasonably priced and easily configurable solar-pump to pull water from a reservoir and irrigate all of the plants. I also whipped up another reclaimed redwood planter and threw in some wildflower seeds as an added bonus for more color. All in all, it should prove to be an enjoyable, low maintenance balcony garden with tasteful native blooms from April through July, and one that only requires an occasional refilling of a 5-gallon bucket.
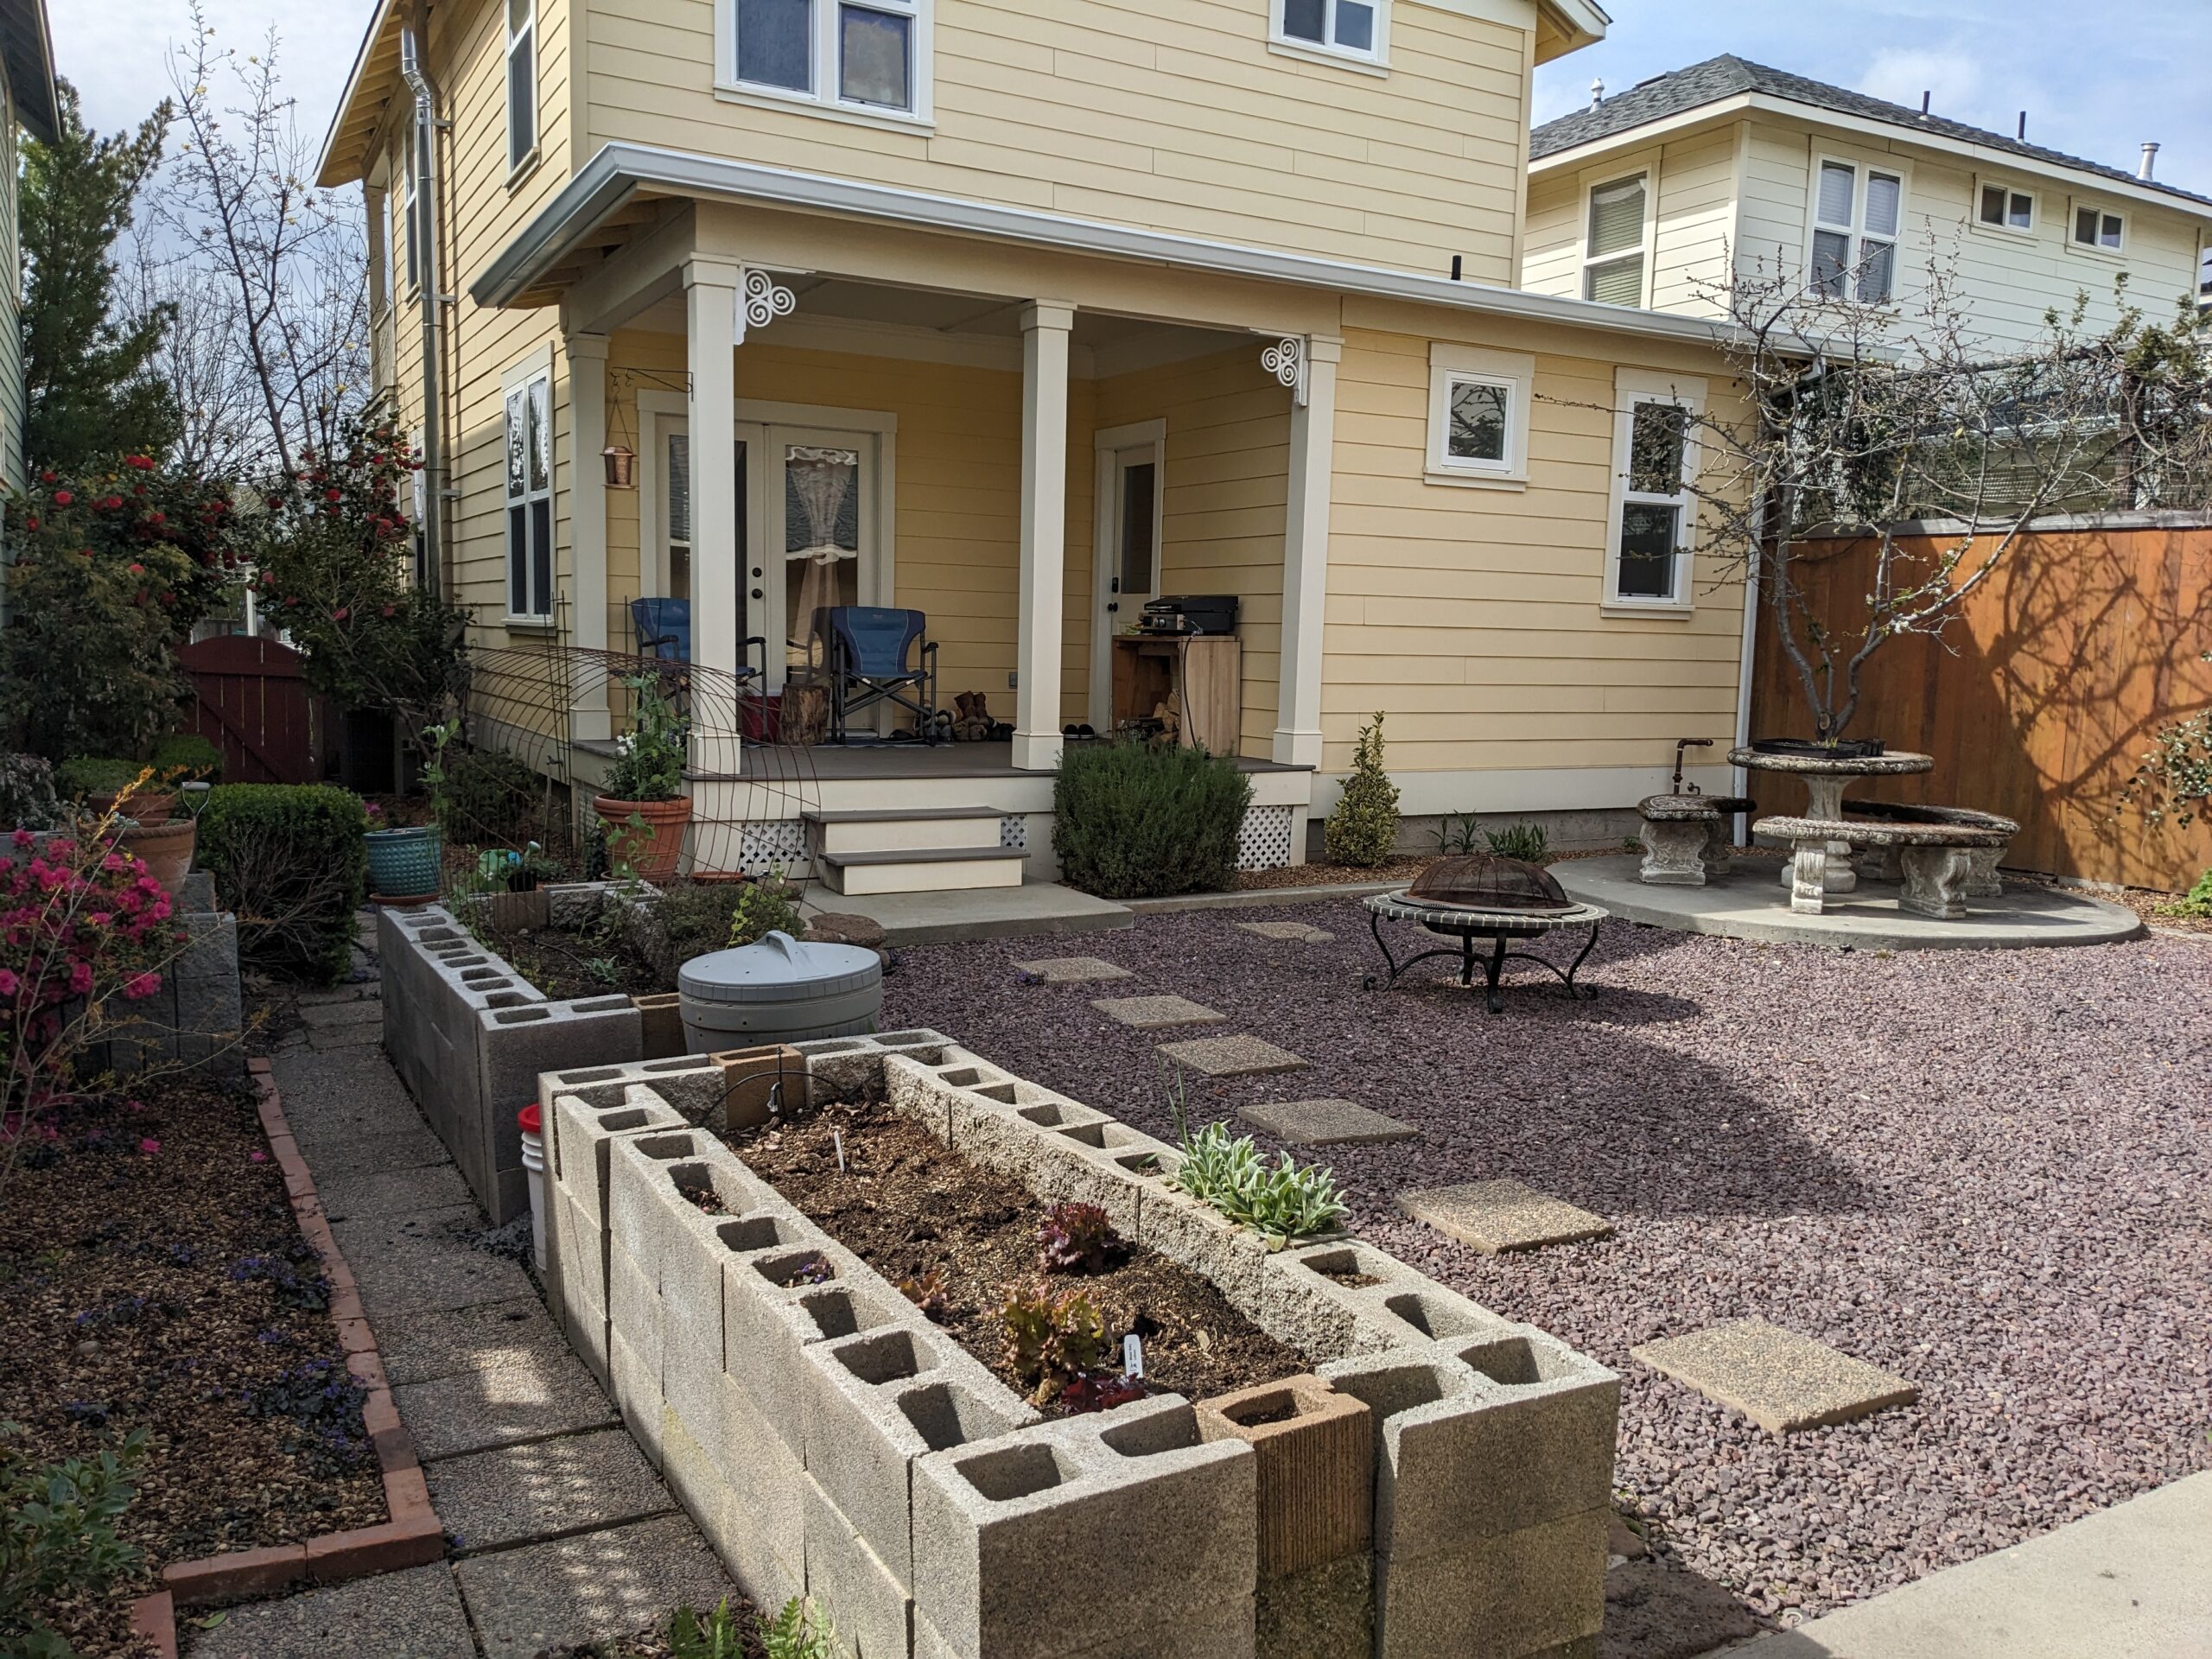
Cinderblock Raised Garden Beds
At some point I was fortunate to enjoy access to a huge pile of free cinderblocks, which sparked inspiration to install some garden beds at my old house. I removed the pavers at the location where they were to be installed; this was the best sunlight location in the yard, and I wanted to have two long beds with my worm bin situated in between for easy dispersal of worm castings. I extended some drip irrigation that was already moving around the backyard into the beds. I used some of the old pavers to form a narrow pathway all the way around both beds, and I had some left over to form a path across the gravel hardscape from the back deck to the garage door… so two birds with one stone! I then filled the beds with a combination of worm castings and E.B. Stone Big Harvest, but if the beds had been much bigger I would have picked up one or two cubic yards of garden soil with my pickup, and wheelbarrowed it to the beds.
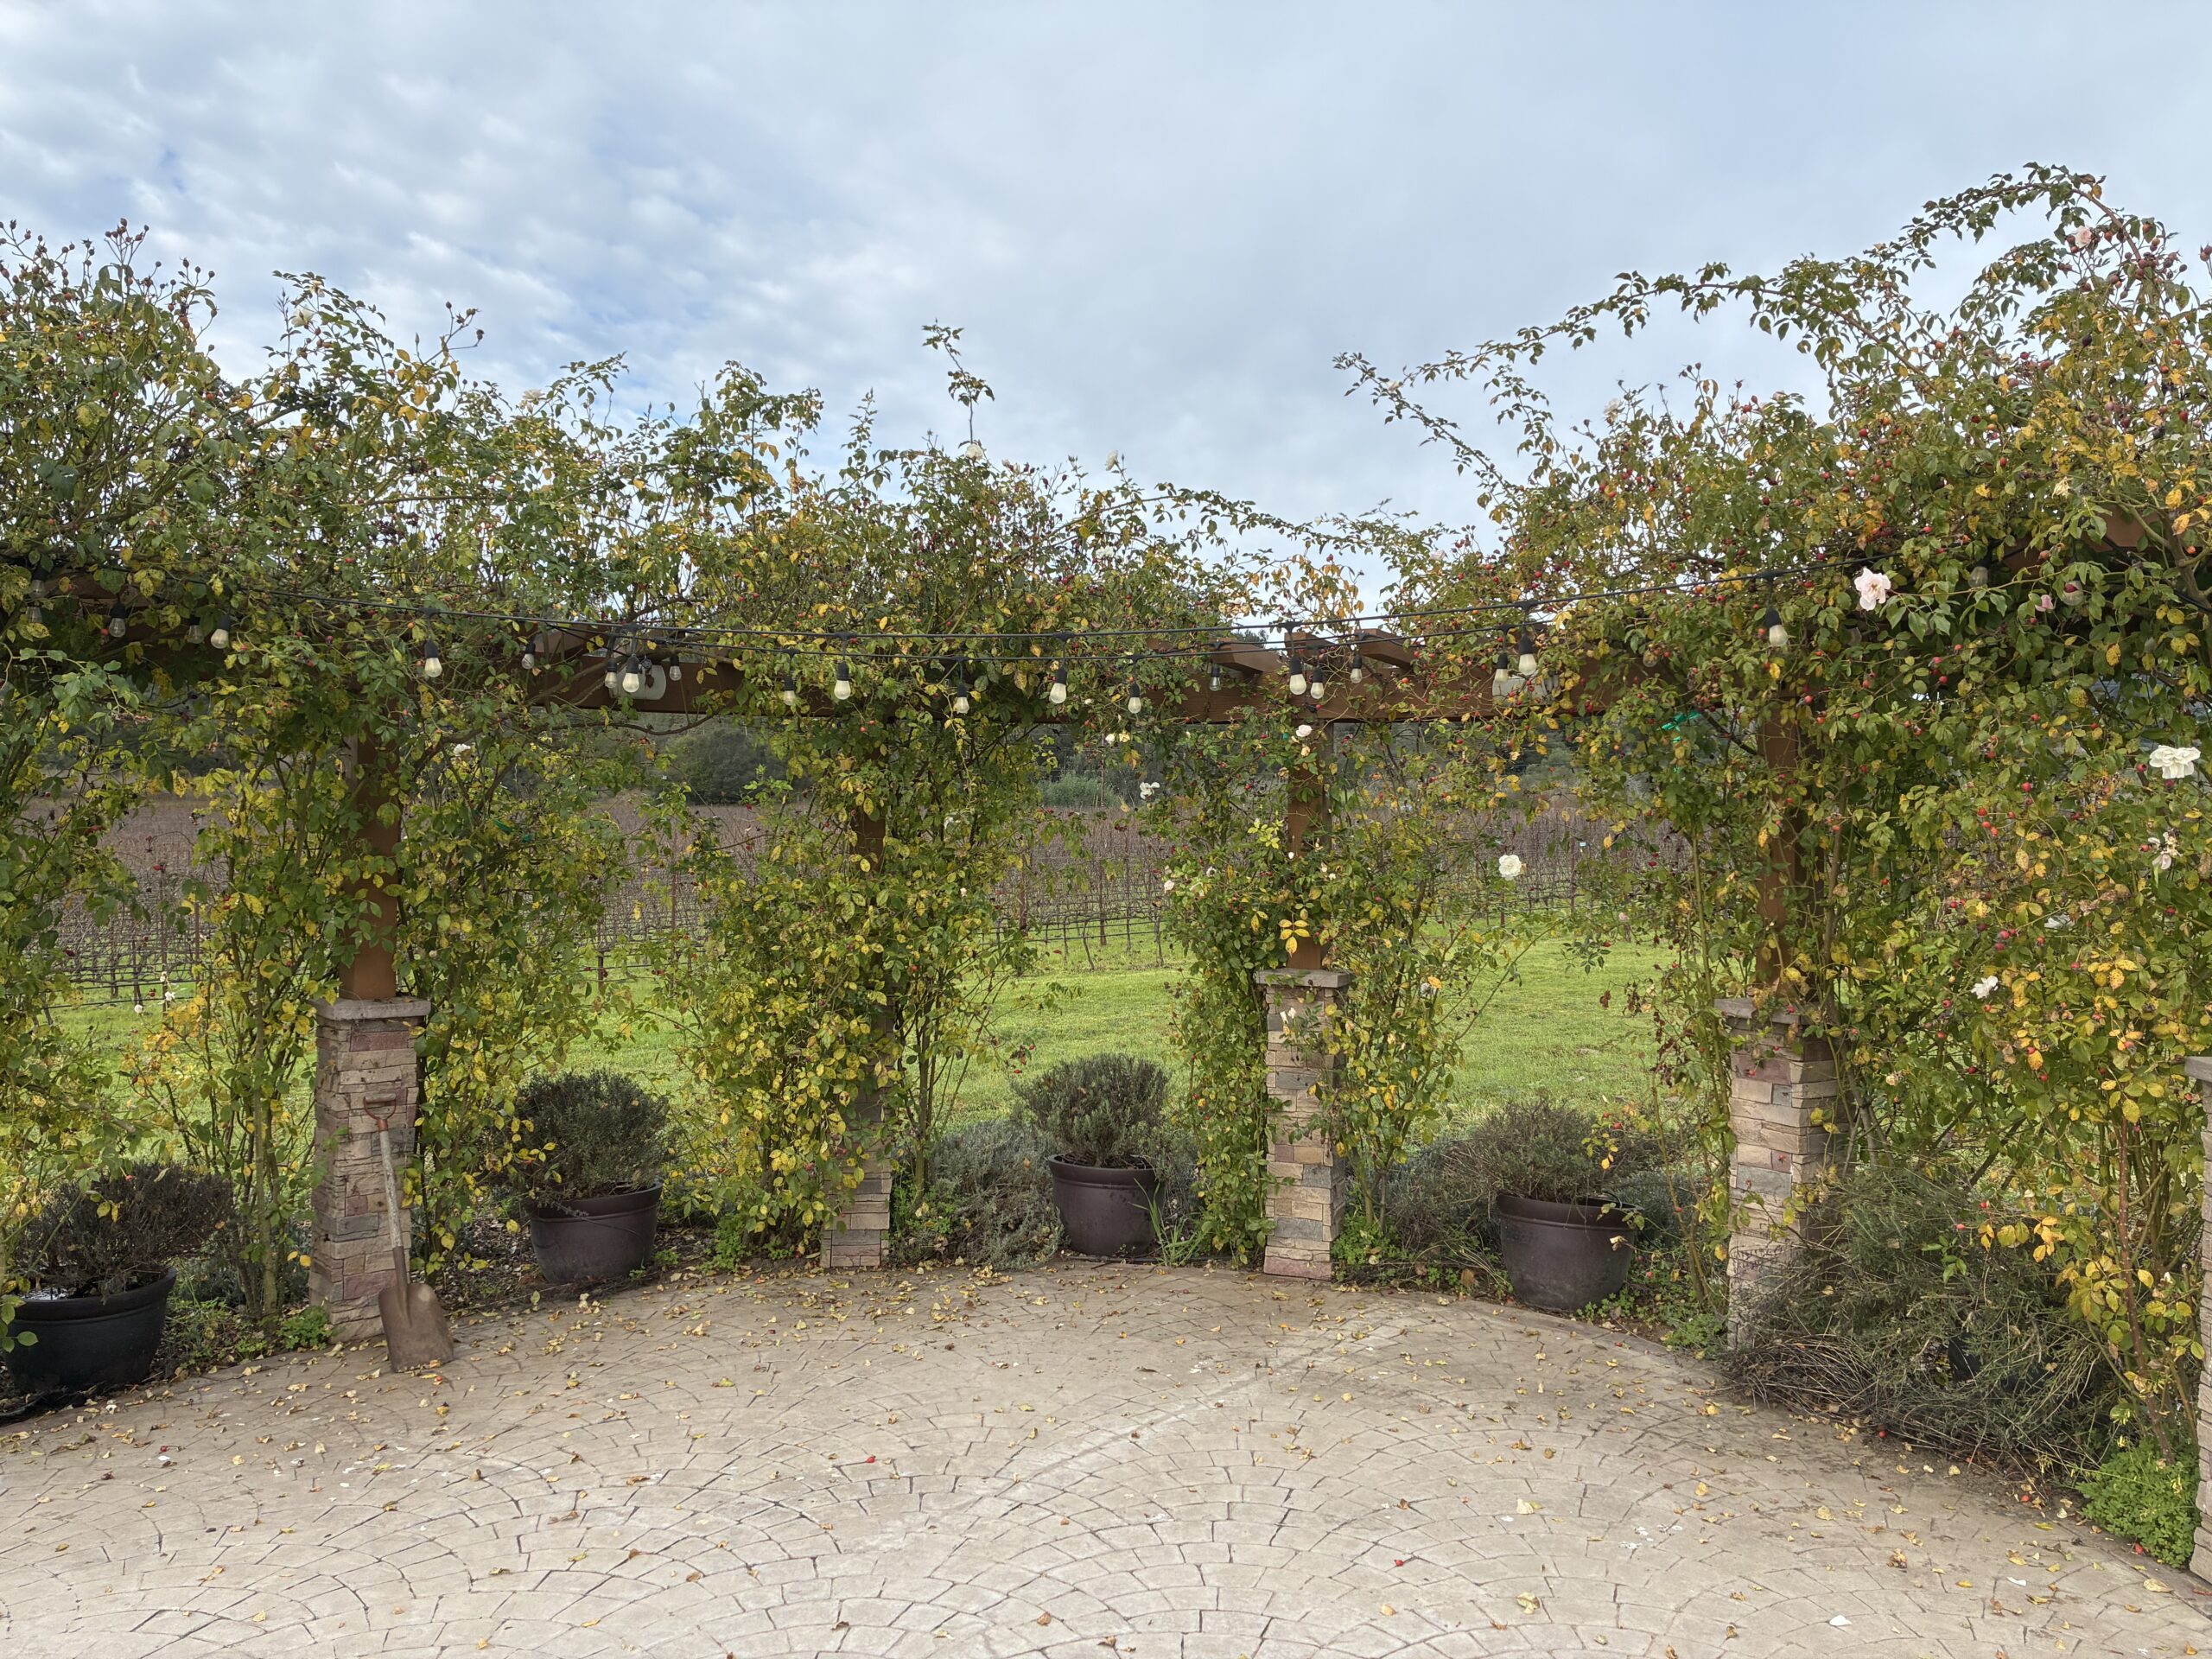
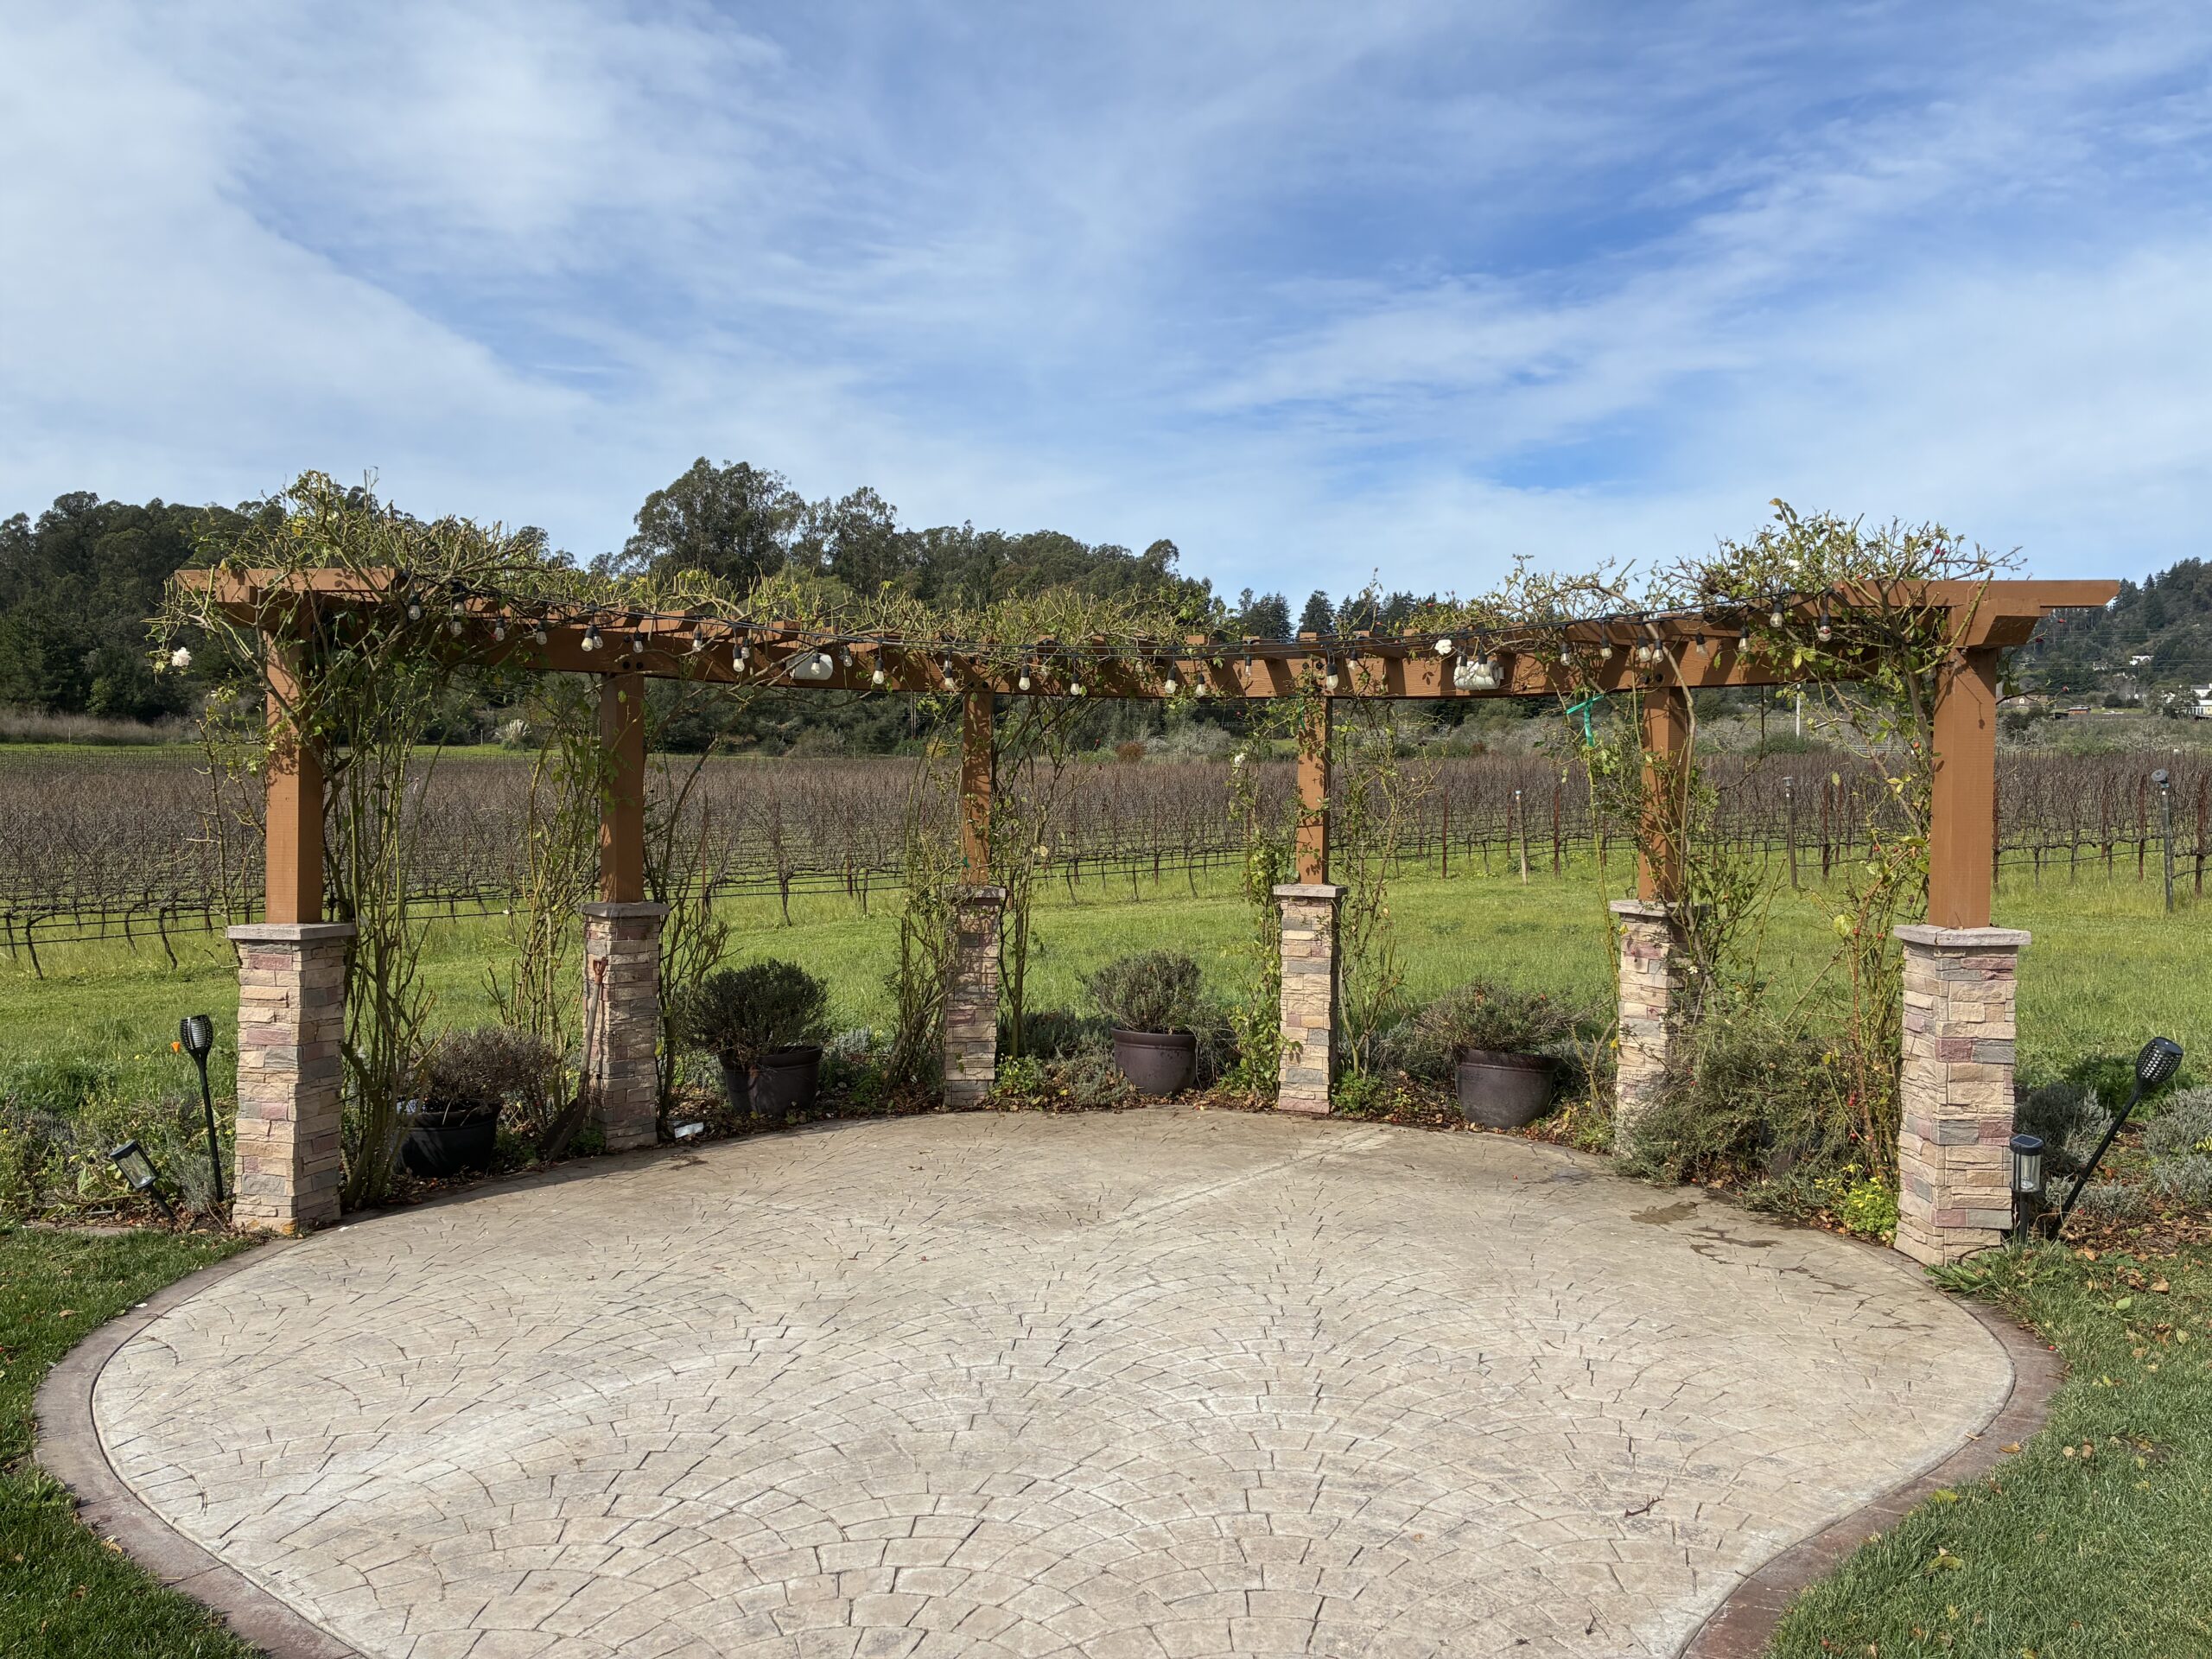
Climbing Rose: Pruning
There was a lot of thinning out to be done on this extensive outdoor trellis. Overall it was a straightforward rose pruning session, with one special problem; just left of the center was a bare spot, as can be seen in both the before and after photo. I pruned and trained some center canes in order to direct growth to fill that gap in eventually. Otherwise, this presentation will be much more orderly and pleasing to look at in the coming flowering season.
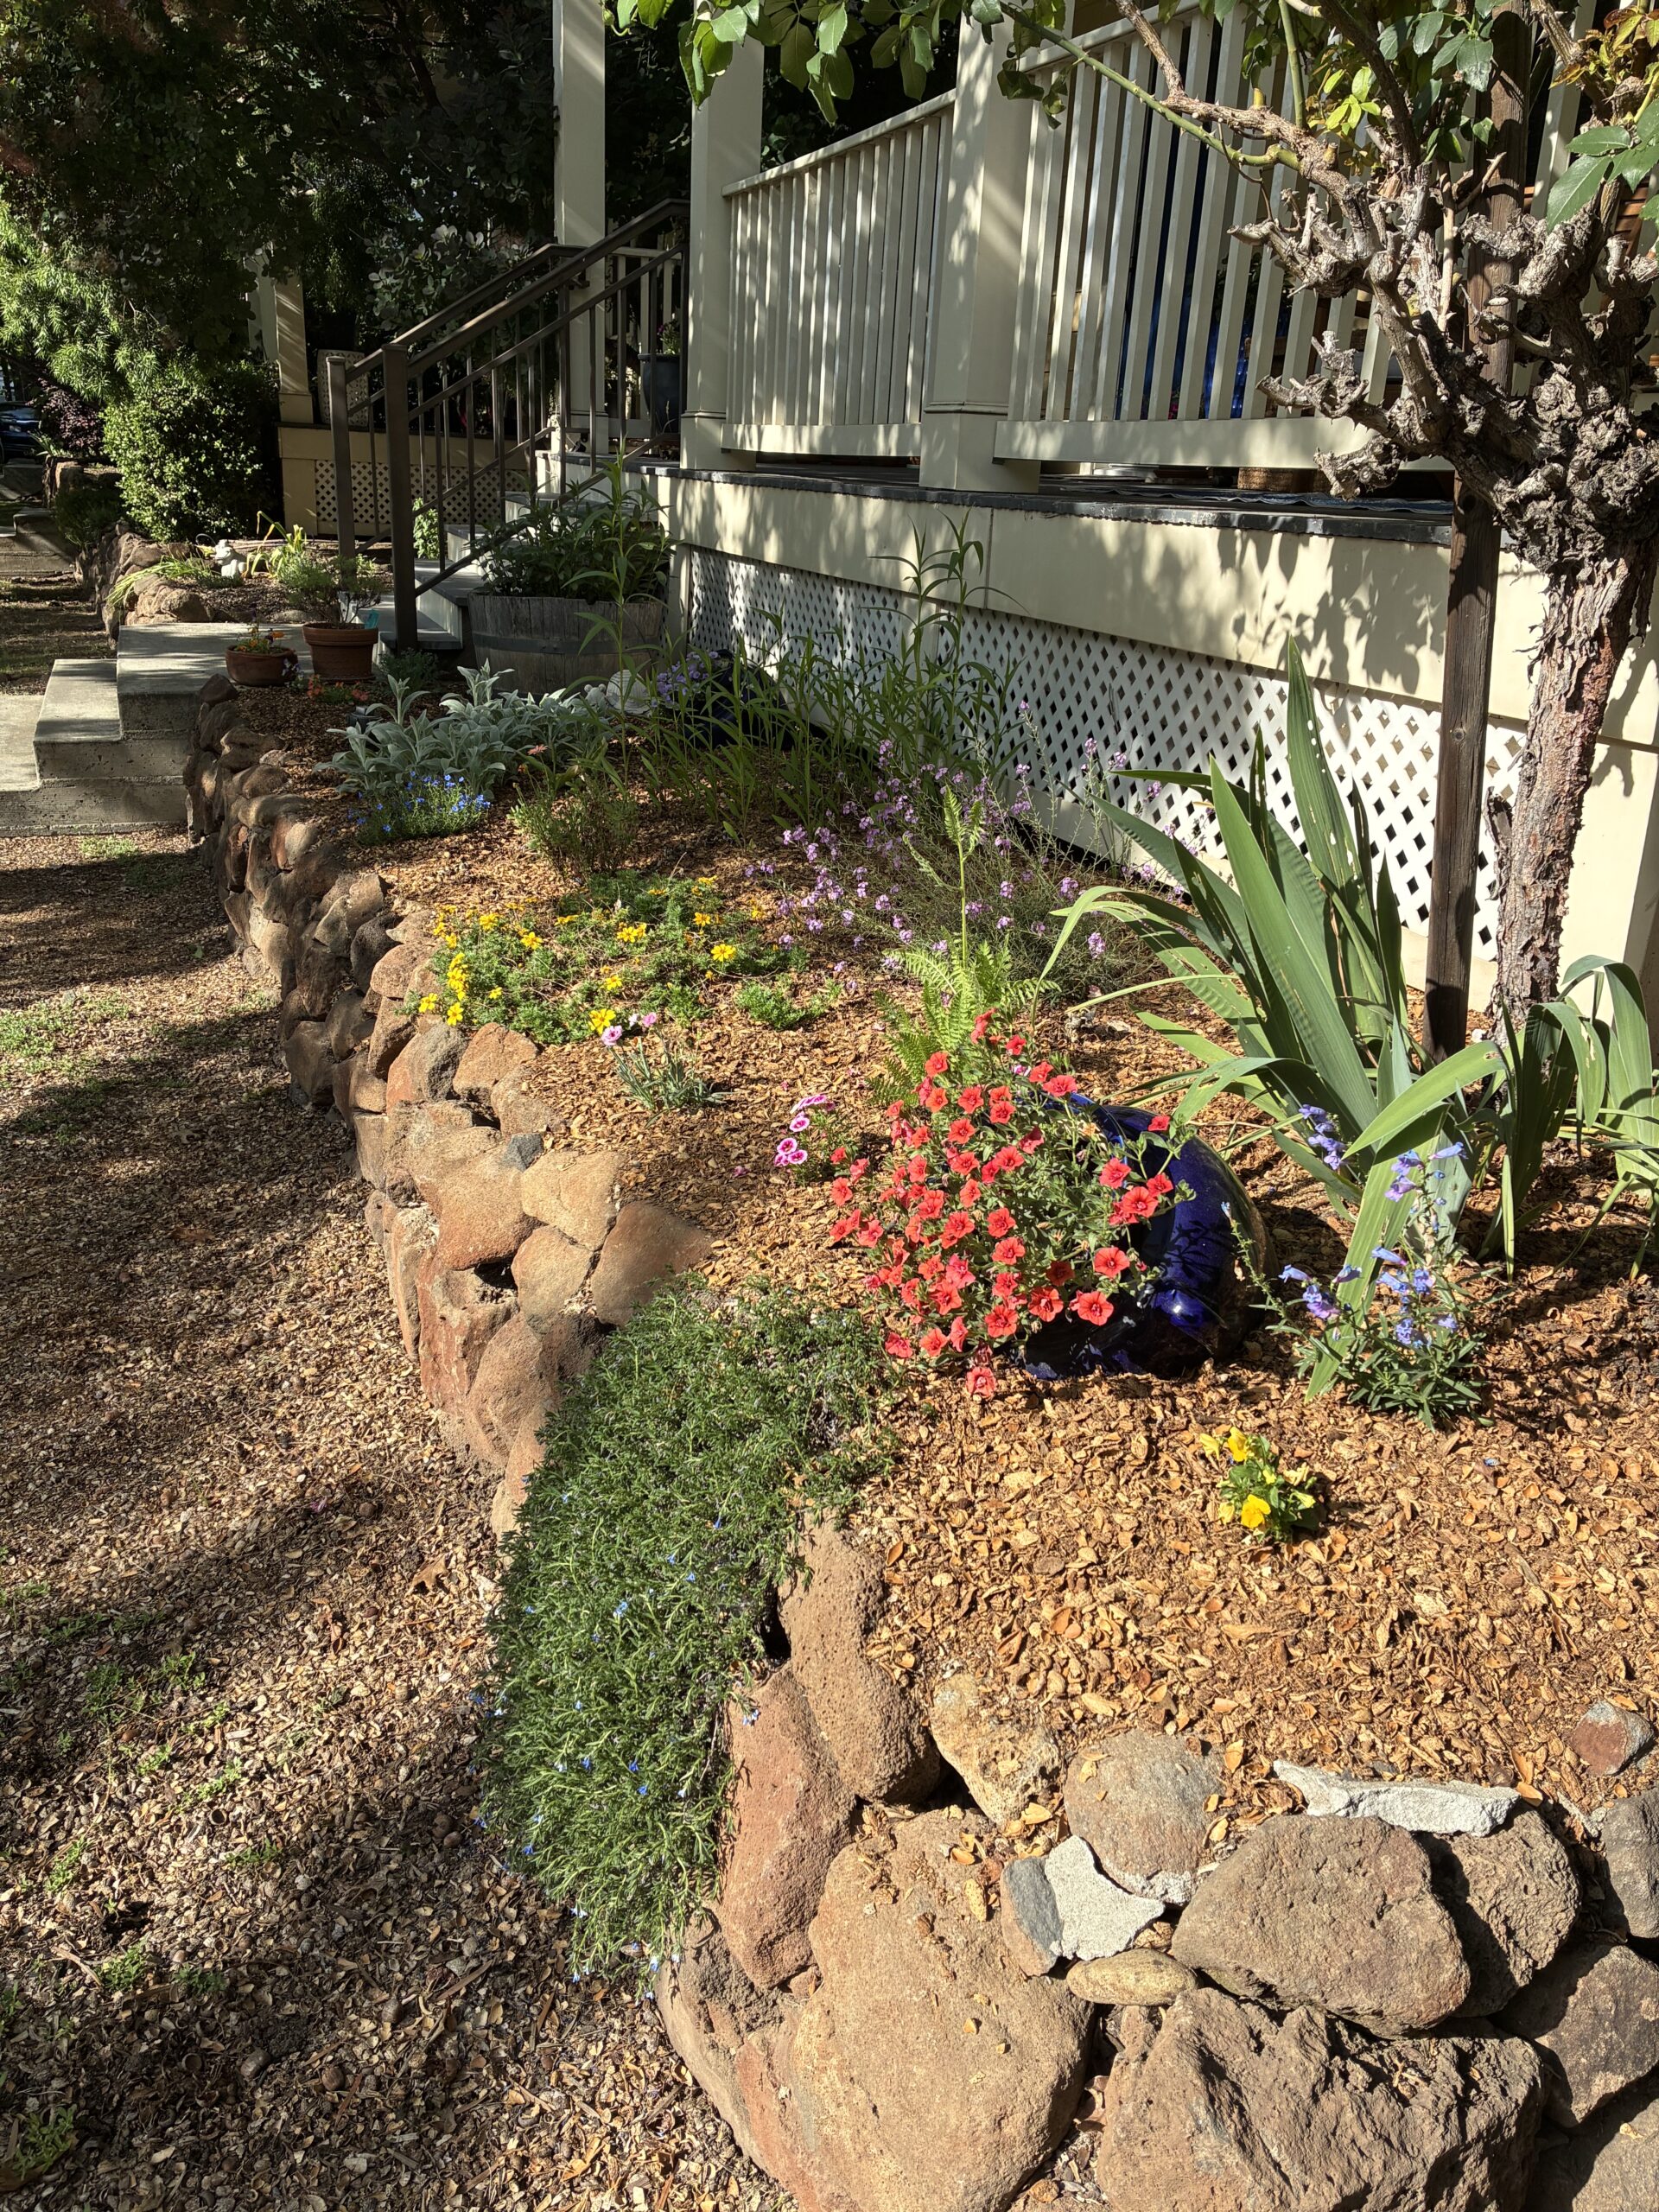
Diversified Retaining Wall Garden Bed
This is from my old house in Chico. When I first moved in, there were maybe five plant species throughout the entire property: roses, camelias, azeleas, lithodora, and geranium. Oh, and a few hydrangea in the backyard. It wasn’t really to my taste, and eventually I basically hit the reset button (I left the largest rose on the corner of the porch, and one lithodora that I was fond of). I planted a wide array of new characters; yarrow, calibrachoa, English aster, pentstemon, lambs ear, some tulip bulbs, lavender, physostegia, and Mexican petunia in some wine barrel I got for free… amongst some others. I also took out the grass in front of the wall, cardboarded and mulched it, and planted some plugs of turkey tangle. I mulched everything with almond hull. Subsequently, I had to redo the drip irrigation to source everything directly to the newcomers.

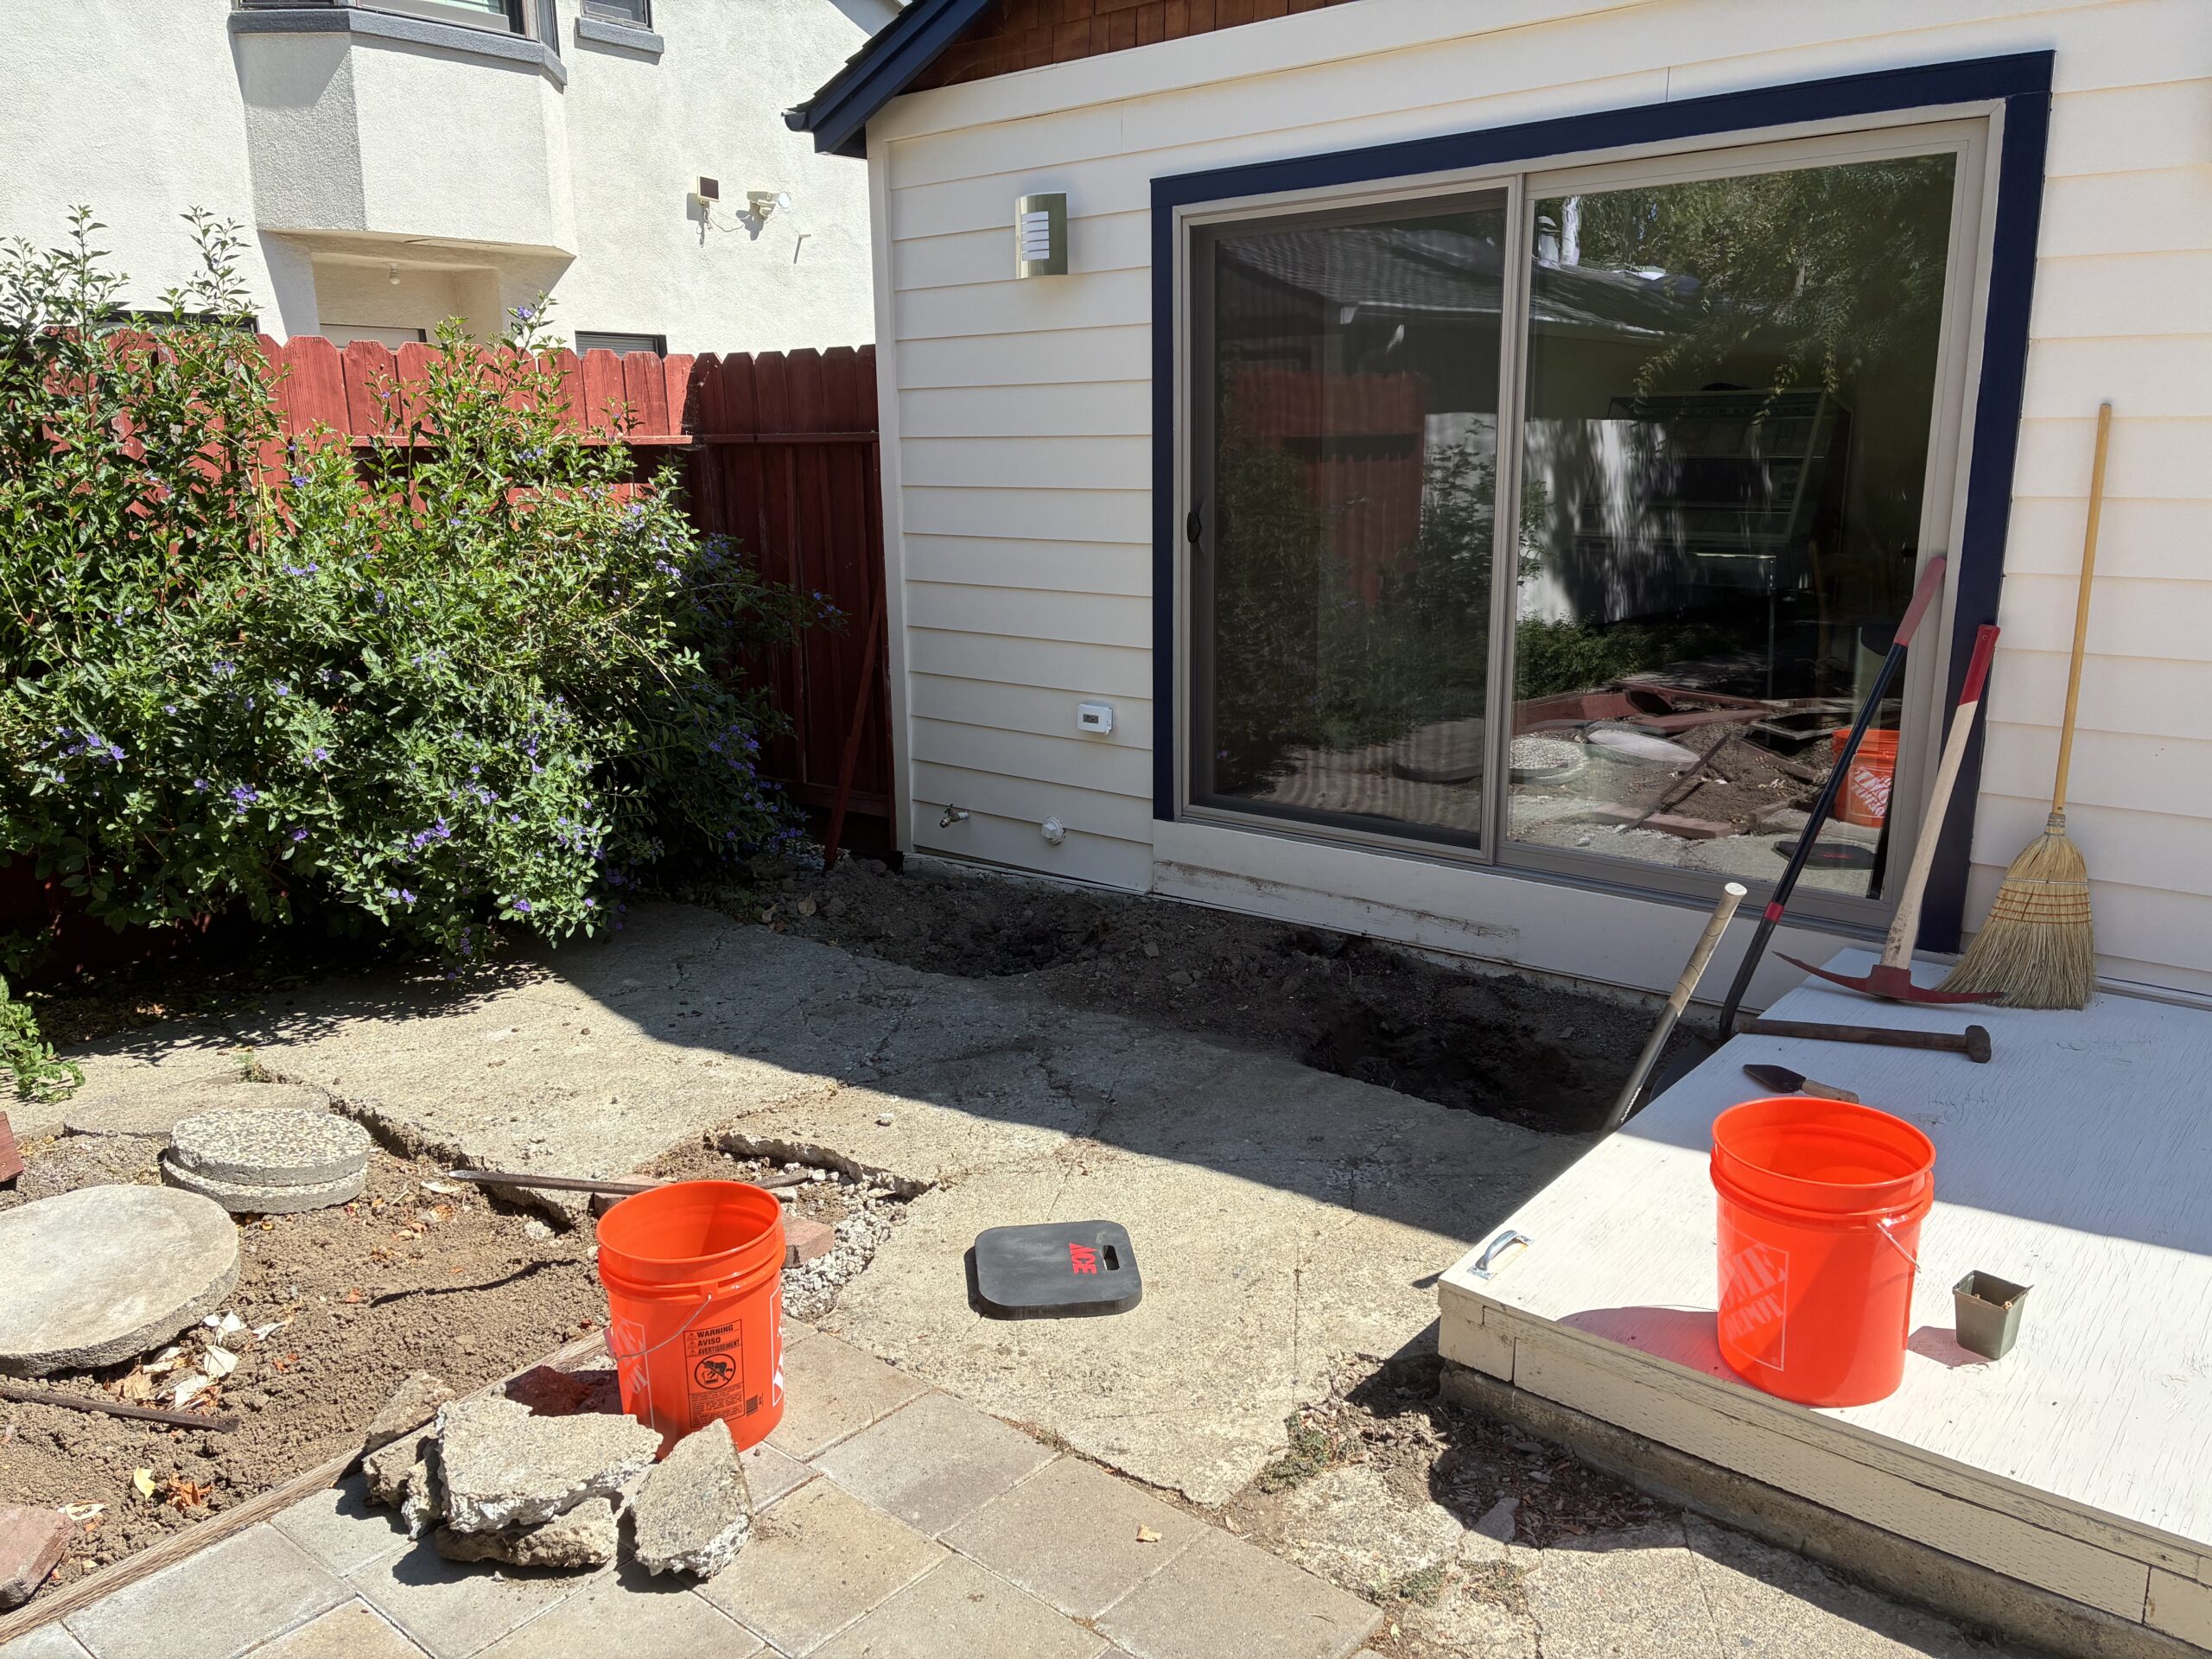
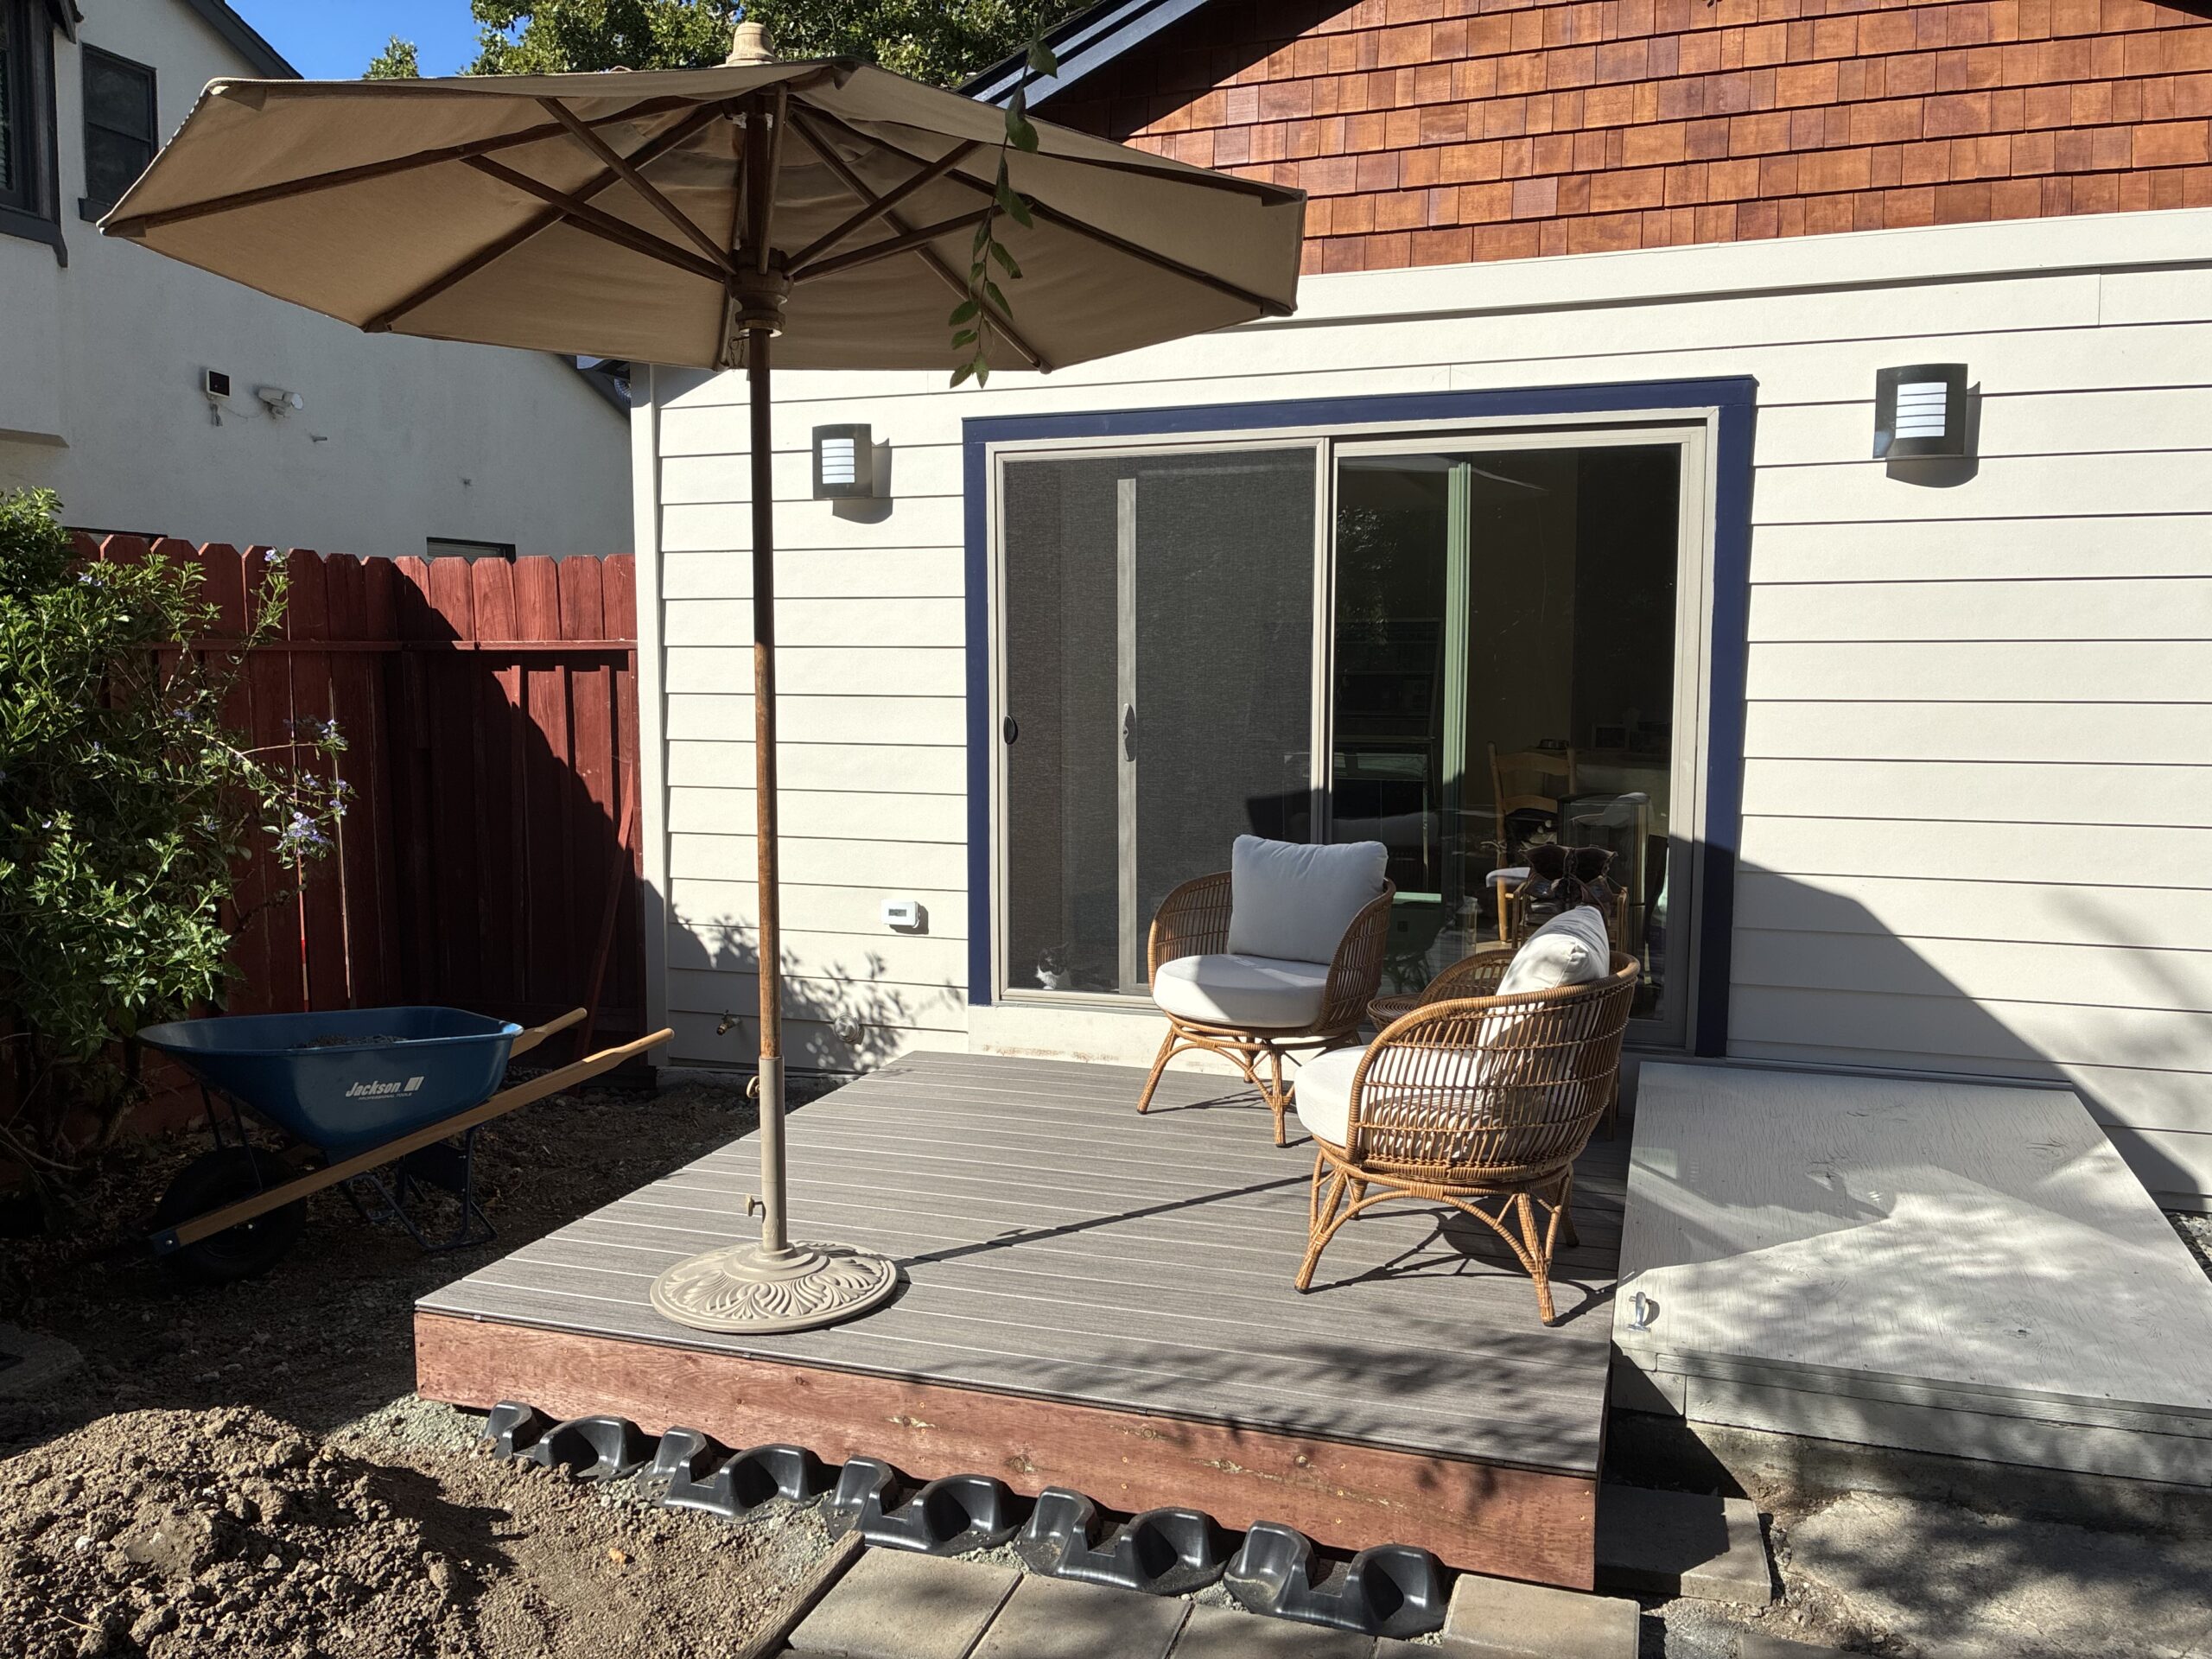
Concrete-to-Trex Deck (IN PROGRESS)
This property had many different masonry events over the years. Virtually all of it needed to come out, so we started with this area right in front of the back sliding door. I demoed out the concrete by hand (maybe a couple of hours of work to get it out and stage it in an area to be picked up by a hauler). An 8’x8′ deck was framed and constructed, and rests on a leveled area of base rock and Camo Blocks. The Trex deck boards are more expensive, but frees you from the maintenance of staining and sealing from time to time. It’s a simple platform to look out at the rest of the back yard from!
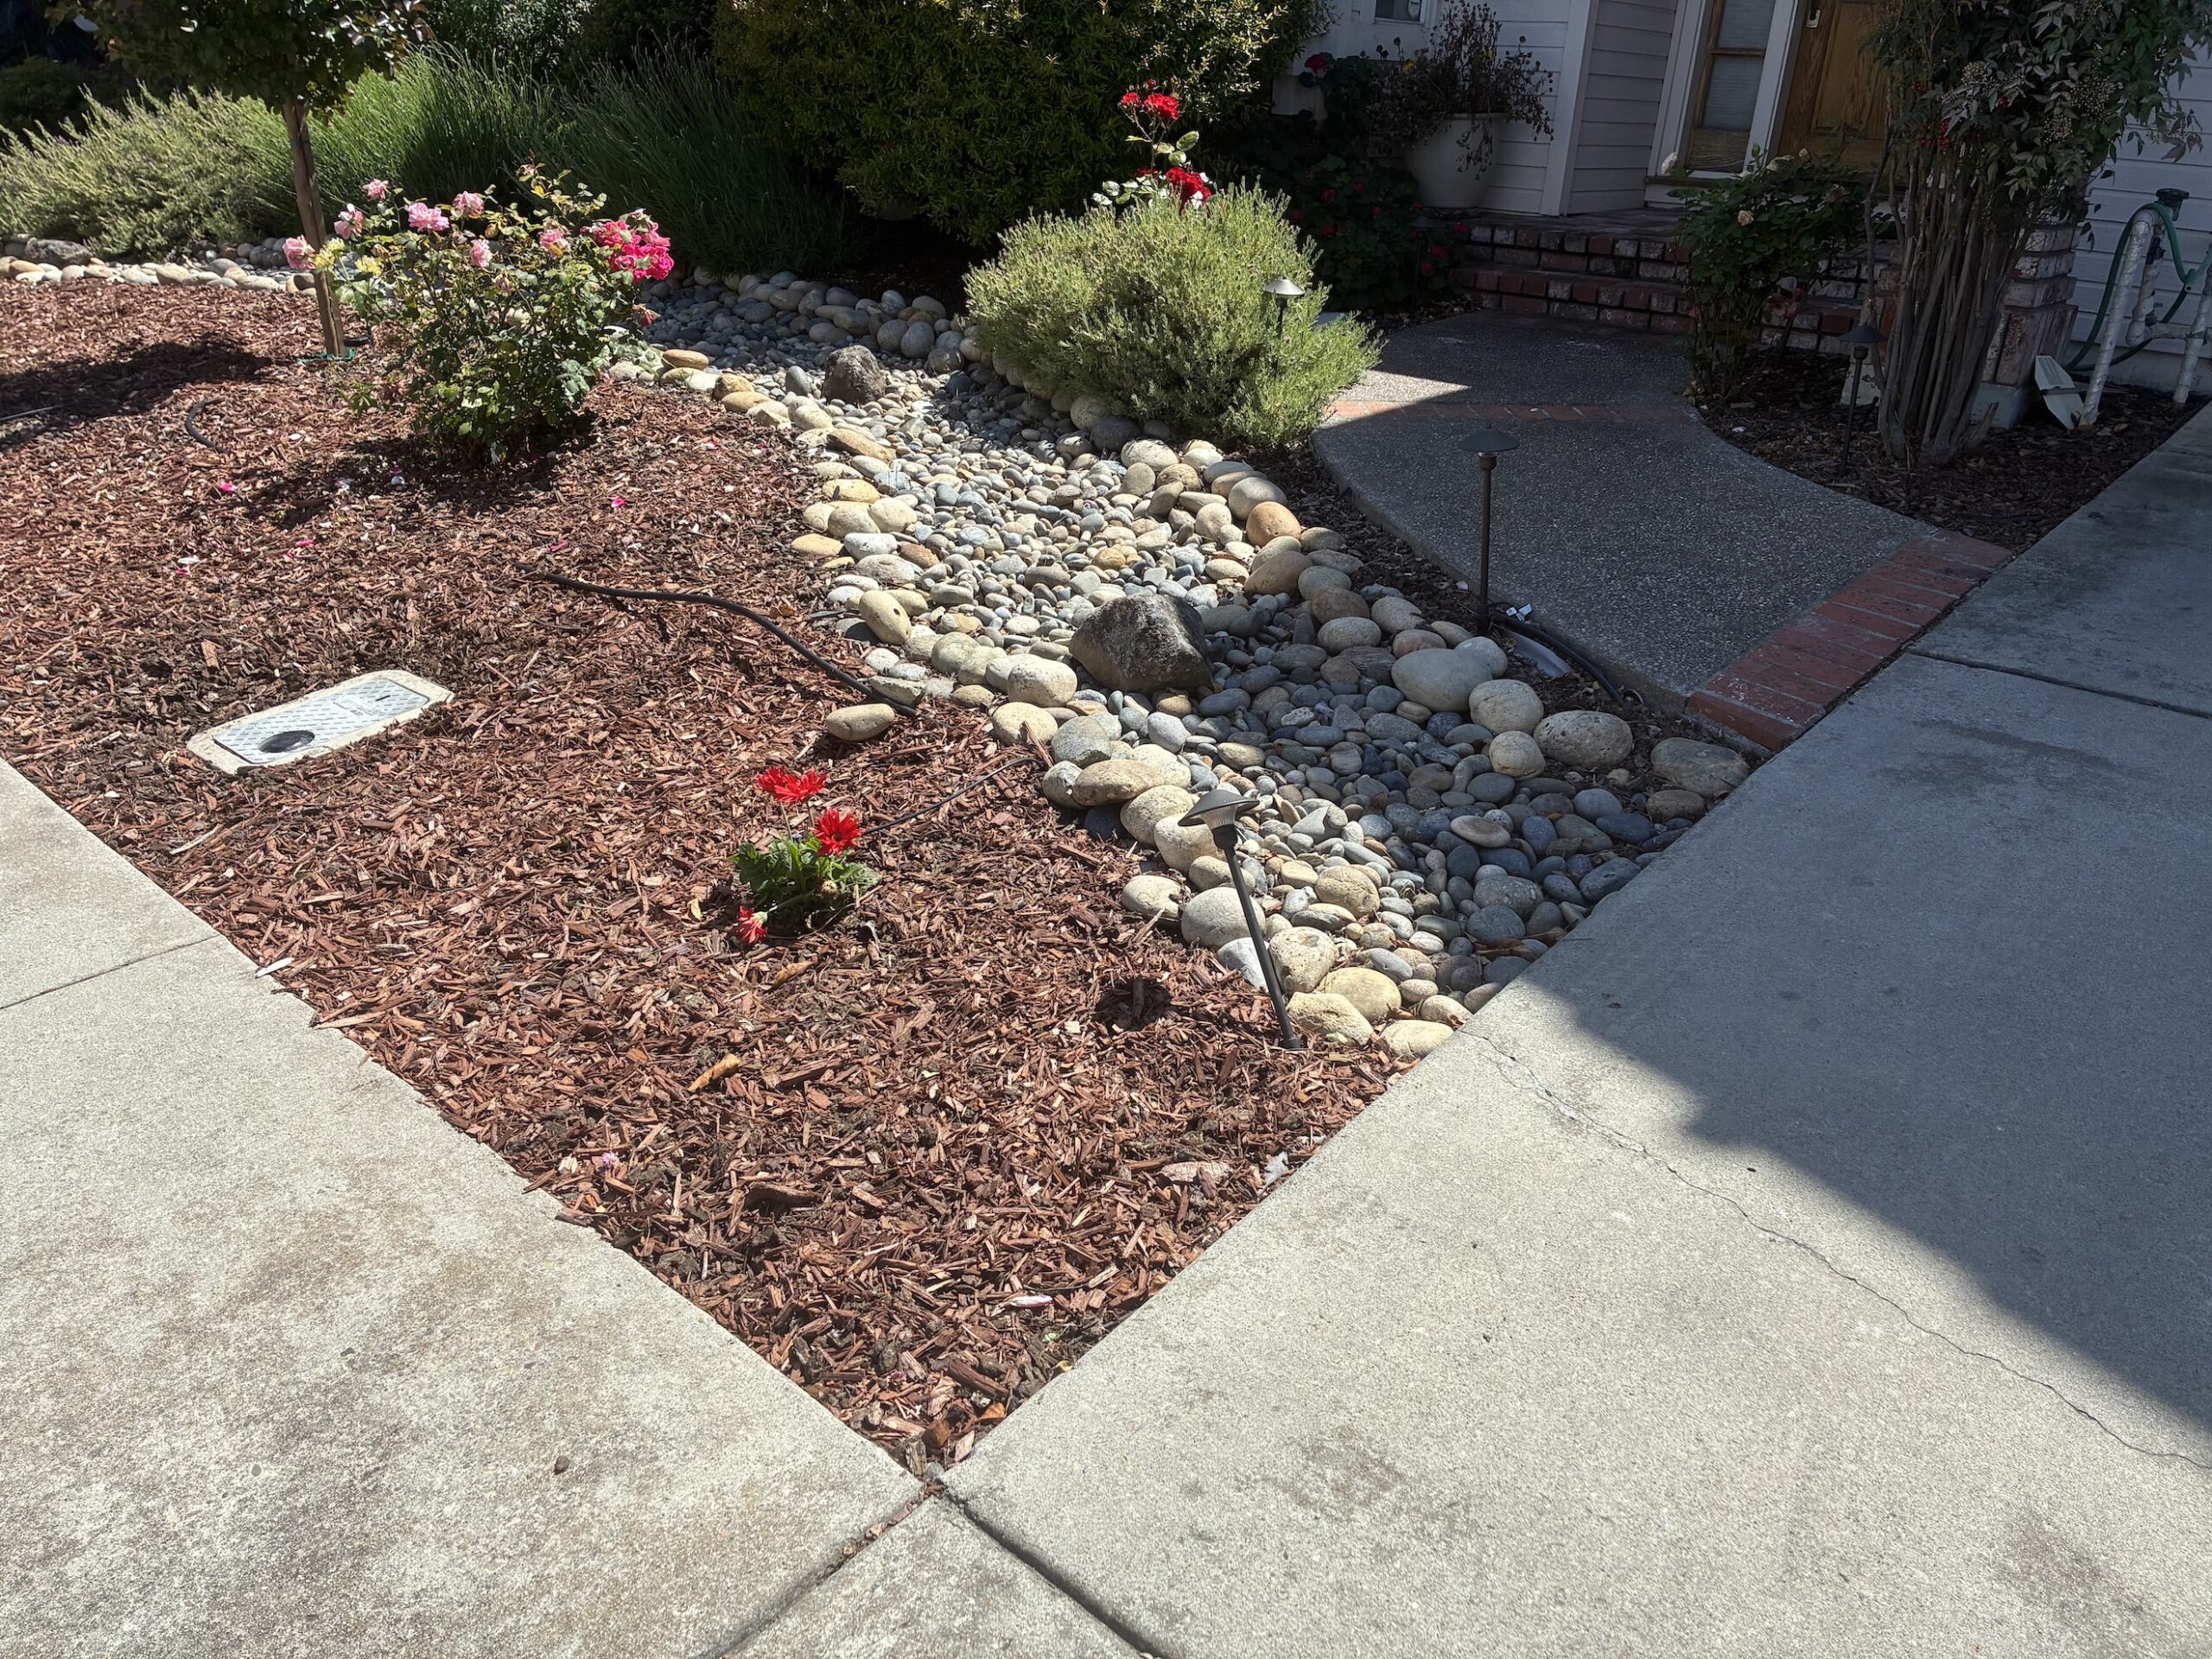
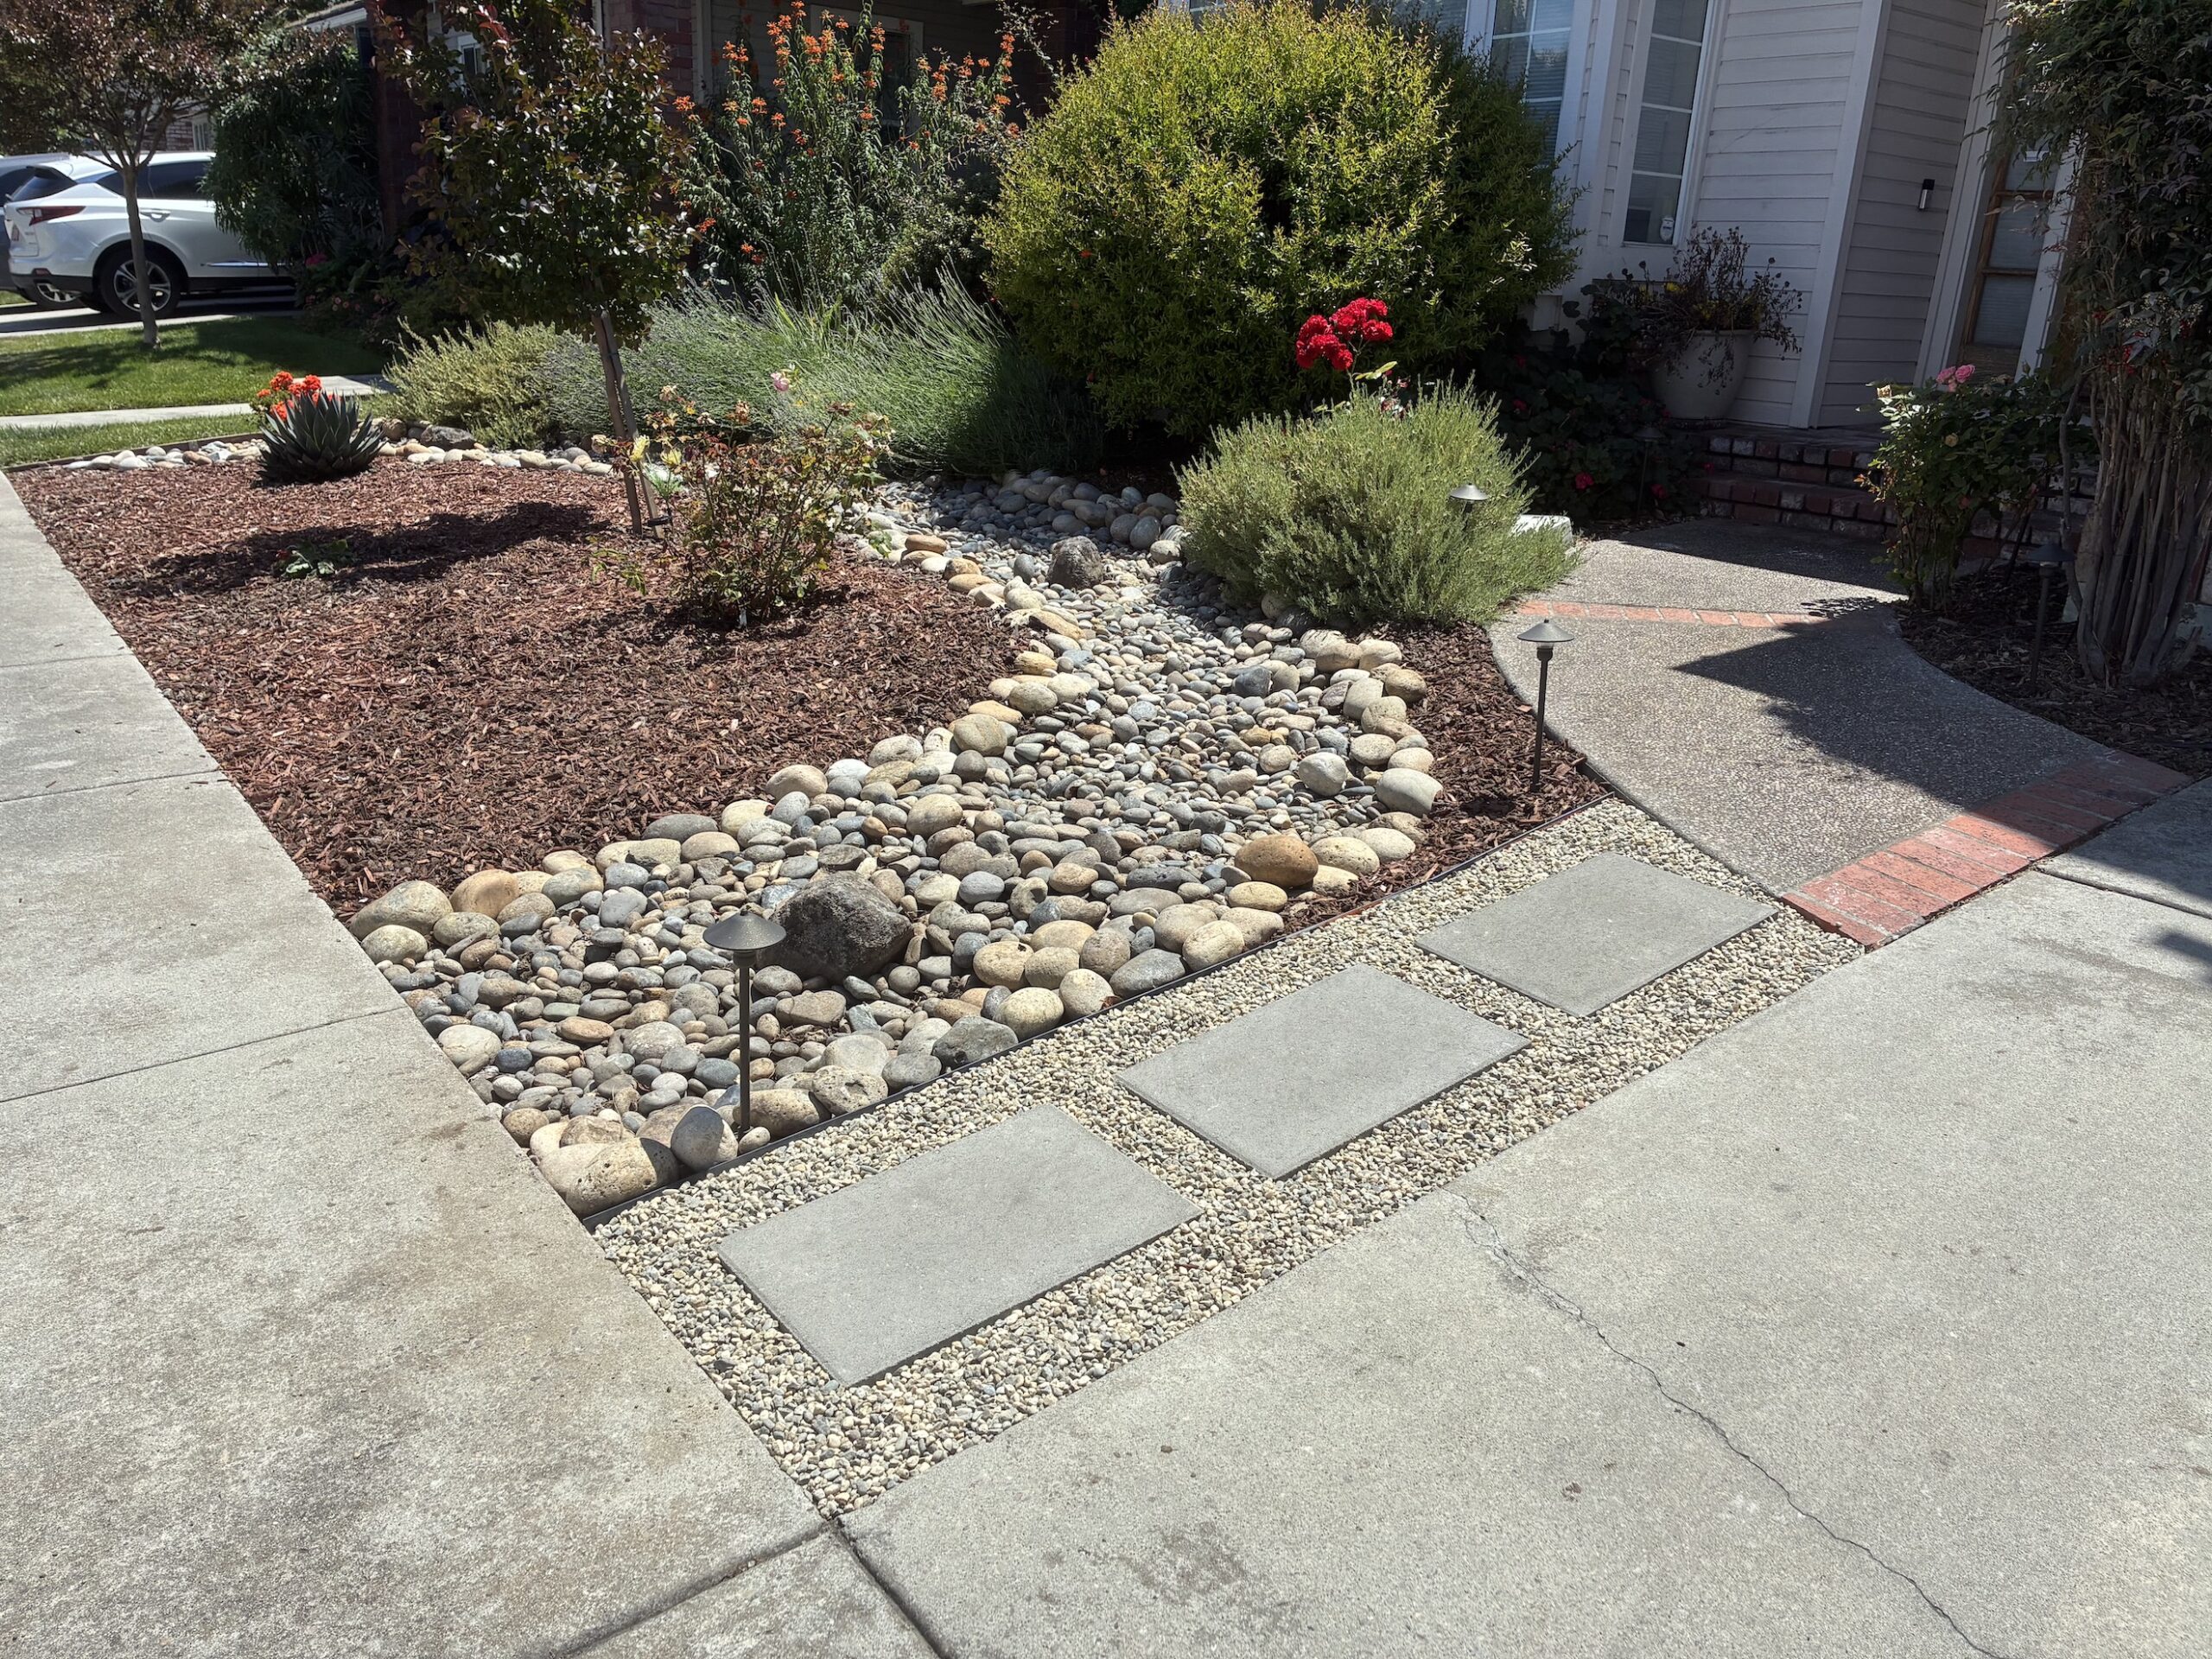
Driveway Extension-Pathway Hybrid
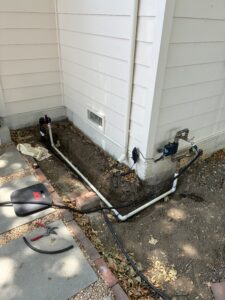
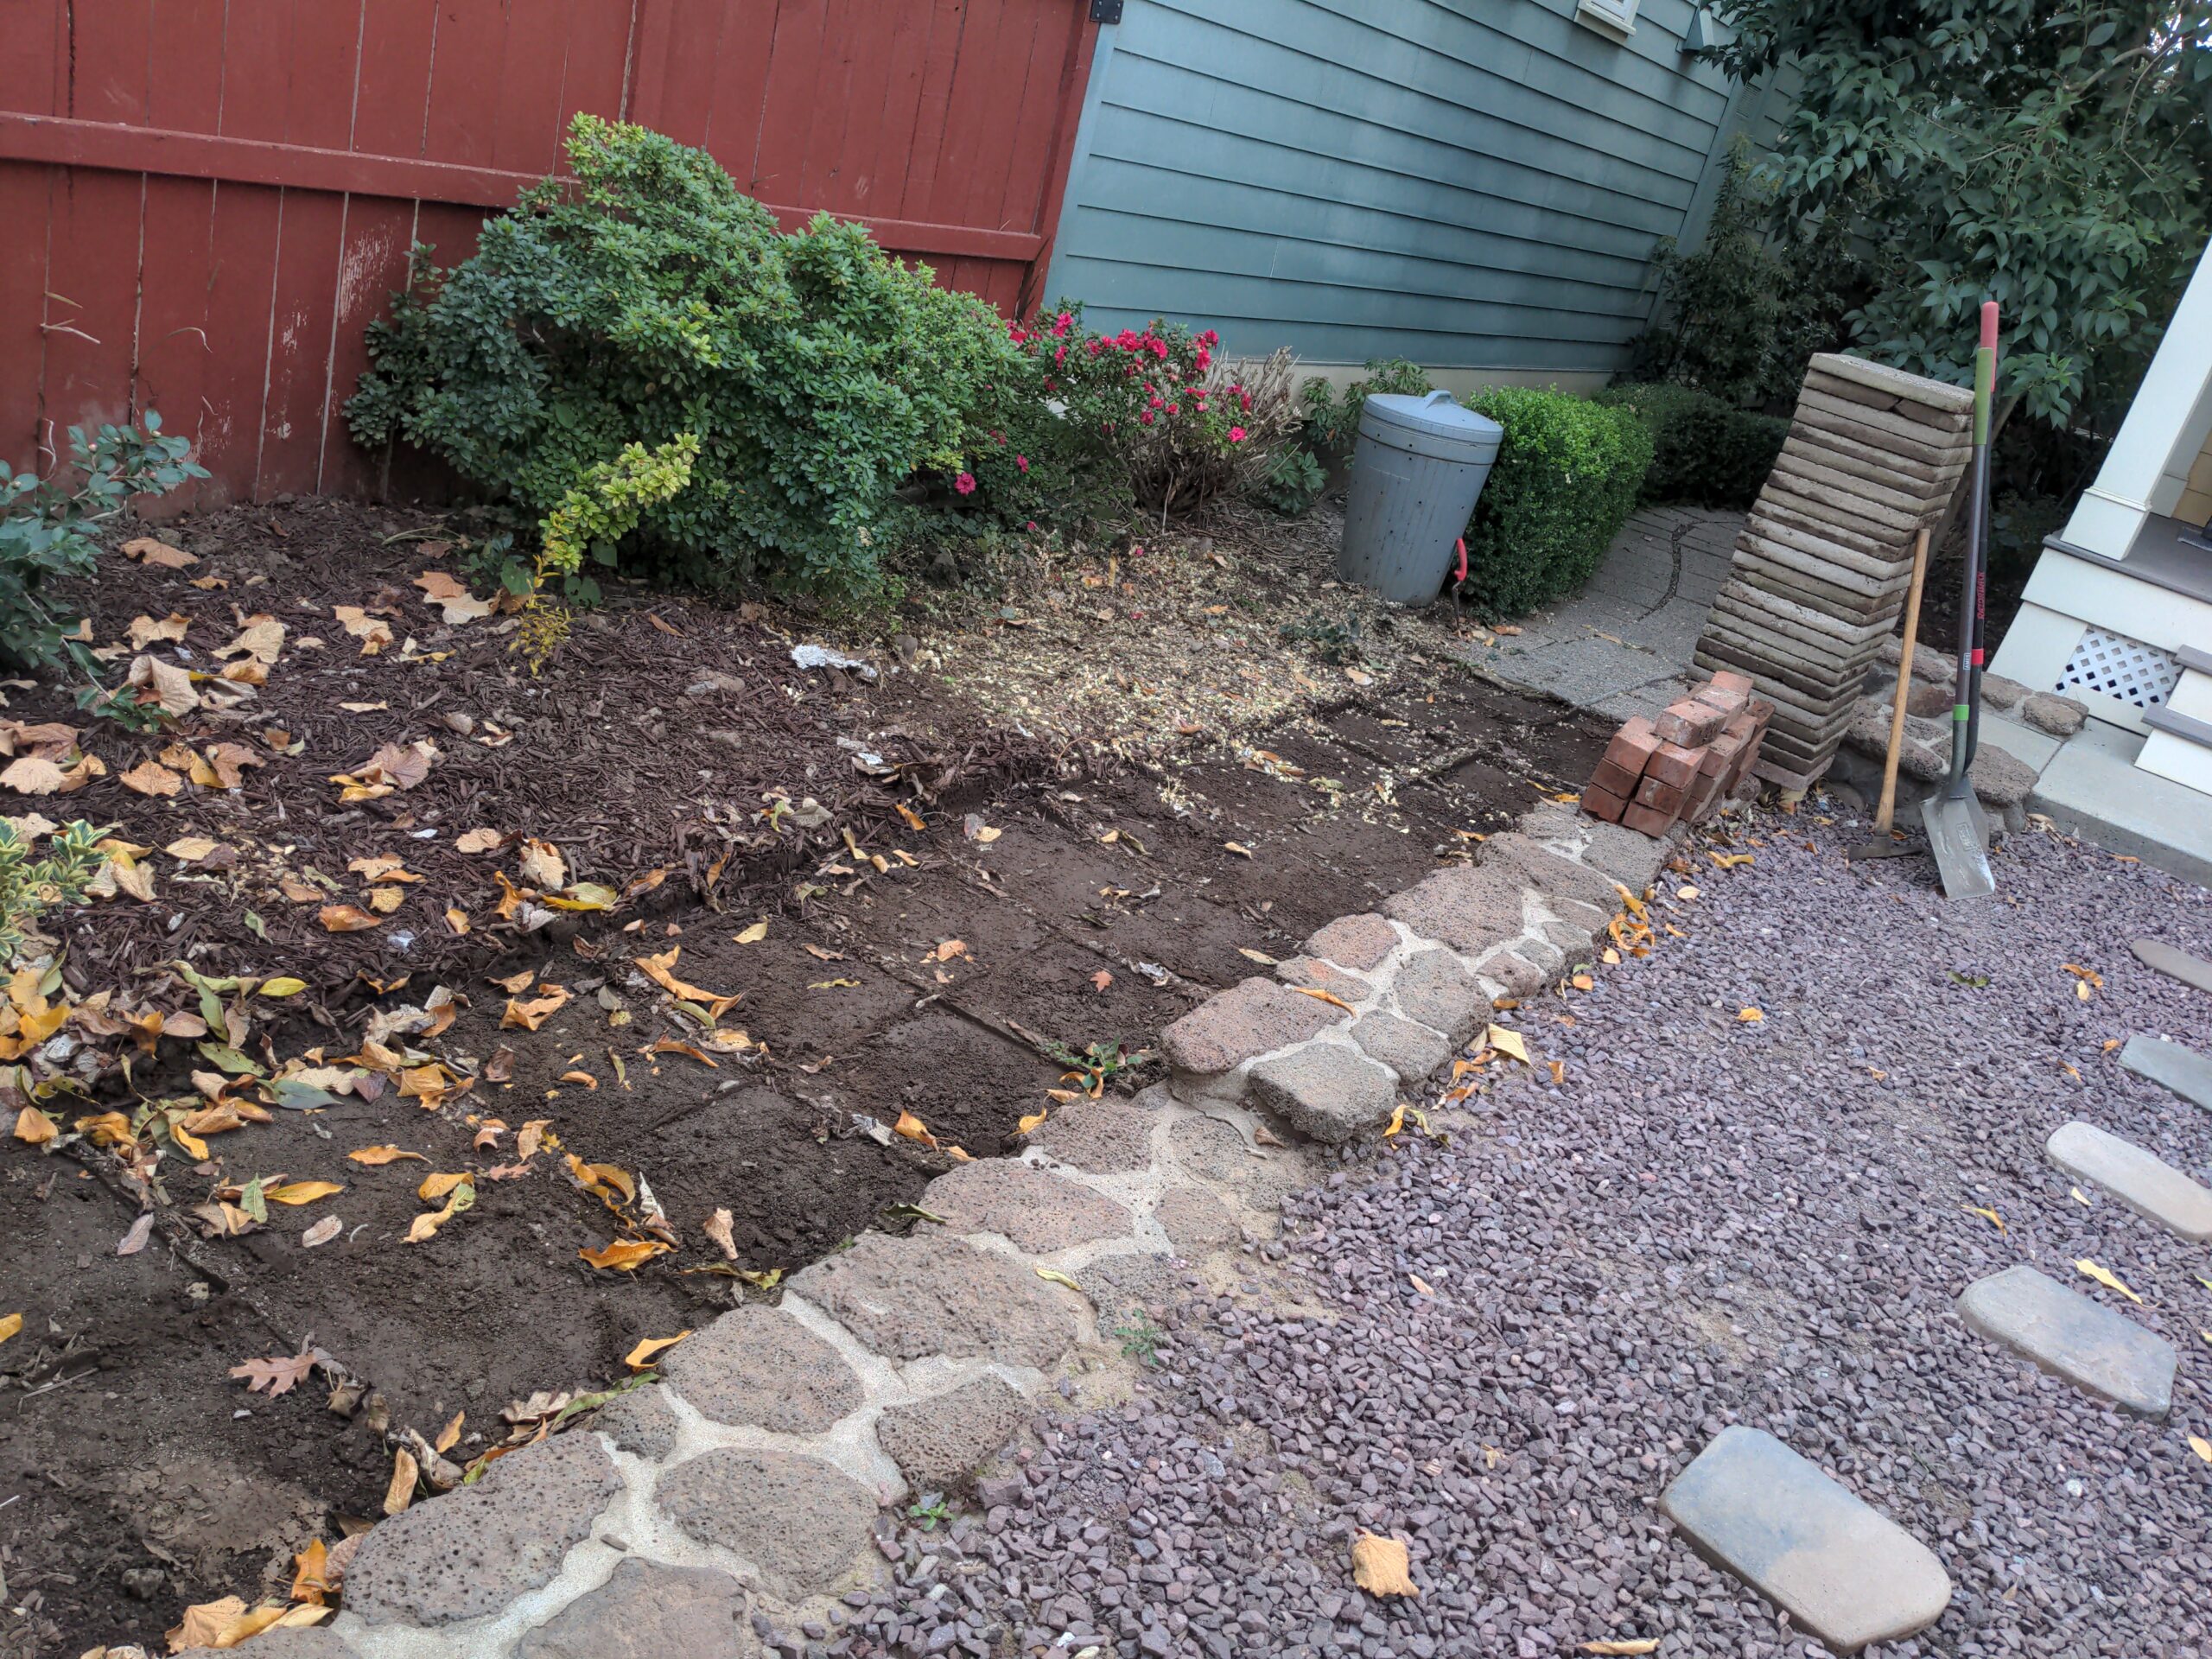
One of my clients was always lamenting an issue with their driveway, where when two cars are parked in it, people are always having to step into the creek bed and mulch and the light is always getting kicked over. Also, there’s no actual pathway that goes completely between the pathway from the front door to the sidewalk. So, with some simple reconfiguration and appeasing of the neighborhood HOA, I constructed an affordable and simple paver and granite pathway that resolves these issues. As always, there was some complication with the project, this one being some drip line in the work area that went into a PVC tunnel that ran underneath the driveway. I was able to reconfigure this to minimize the amount underneath the pathway and protect what absolutely had to be under the path with a protective PVC sheath.